


Thinking about rubber flooring for your space? It's a superb choice for durability and safety, especially in high-traffic areas. But the most pressing question is always: what will the rubber flooring installation cost be?
The straightforward answer is that rubber flooring installation typically ranges from $3 to $15 per square foot, including both the flooring material and professional labor.
However, that's a wide spectrum. A simple DIY home gym project will fall on the lower end, while a large commercial facility with custom safety requirements will command a price at the higher end. This guide will give you actionable insights and real-world examples to build a precise budget.
Your Quick Guide to Rubber Flooring Costs

When budgeting for new flooring, understanding the total expense is the most critical first step. The final figure isn't just the price of the rubber; it's a combination of the product you choose and the labor required for a flawless installation. Think of it like buying a new company vehicle—the sticker price is just the beginning. You must also account for delivery, prep work, and any custom features needed for your business operations.
The same principle applies to your rubber flooring installation cost. The total is shaped by key factors: the type of material (tiles vs. rolls), local labor rates, and the condition of your existing floor. Before we dive deep, here's a quick overview of estimated costs to give you a solid starting point.
Estimated Rubber Flooring Installation Costs at a Glance
This table breaks down the average costs for common rubber flooring types. Remember, these are estimates. Your final price will depend on your project's specific factors.
| Flooring Type | Material Cost per Sq. Ft. | Installation Cost per Sq. Ft. | Total Estimated Cost per Sq. Ft. |
|---|---|---|---|
| Rubber Tiles | $2.00 - $8.00 | $1.00 - $3.00 | $3.00 - $11.00 |
| Rubber Rolls | $1.50 - $12.00 | $1.00 - $3.00 | $2.50 - $15.00 |
| Interlocking Tiles | $2.50 - $9.00 | $0.50 - $2.00 | $3.00 - $11.00 |
These figures provide a practical baseline for your budget. As you can see, the material is a significant part of the cost, but installation can also add a substantial amount, especially for more complex jobs.
Key Cost Factors to Consider
Before you solicit quotes, understanding what influences the price will empower you to control your budget. Here are the main drivers:
- Material Type and Thickness: Rubber tiles might cost more per square foot than rolls, but their simpler installation can reduce labor costs. Thicker flooring, designed for heavy impacts in a weightlifting area, will cost more than thinner options intended for general fitness spaces.
- Subfloor Condition: A smooth, level concrete slab is the ideal scenario for a low-cost installation. If your subfloor is cracked, uneven, or needs a moisture barrier, that necessary prep work will increase your labor bill.
- Project Size and Complexity: Larger projects may secure a better per-square-foot price on materials, but the total cost will naturally be higher. Complex layouts with many angles and cuts require more installer time and skill, which also increases the price.
A key benefit of rubber flooring is its long-term value. While the upfront cost is one piece of the puzzle, its durability and low maintenance needs make it a wise investment for high-traffic environments.
This incredible durability, coupled with a growing fitness culture, is fueling the global gym rubber flooring market. The market was valued at $2.1 billion in 2023 and is projected to reach nearly $3.8 billion by 2032.
Even better, annual maintenance is exceptionally low, averaging just $0.30 to $0.50 per square foot—a fraction of what you'd spend on materials like hardwood. You can read more about gymnasium flooring cost trends to see how these numbers compare to other options.
This guide will walk you through each cost component, so you can build an accurate budget and make the best decision for your space.
How Material Choices Impact Your Budget
When you're mapping out your rubber flooring installation cost, the single biggest line item on your budget will almost always be the material itself. Not all rubber flooring is created equal, and the format you pick—whether it's tiles, rolls, or a poured system—is the decision that will steer your project's final price tag more than anything else.
Think of it like choosing equipment for a factory. A basic conveyor belt might handle general tasks on a budget. But if you need to transport heavy, specialized parts, you'll invest in a more robust system that costs more upfront but is essential for operations. The same logic applies to rubber flooring.
Let's break down the three main types. We'll look at where each one really shines, so you can match the right material to your specific goals and budget.
Rubber Tiles: The Versatile and DIY-Friendly Option
Rubber tiles are incredibly popular, and for good reason. They are versatile, easy to handle, and a breeze to install. Most come in interlocking designs that connect like puzzle pieces, making them a fantastic choice for a DIY project if you want to slash your labor costs.
Real-World Example: A Home Gym Transformation
Imagine you're turning a spare room or a section of your basement into a home gym. You need a floor that can take the impact of dropped weights, but you also want to get it done over a weekend without calling in the pros.
- How-To: Purchase interlocking rubber tiles. You can lay them directly over your existing concrete or vinyl floor in a few hours.
- Benefit: The huge win here is saving money on labor. By cutting out professional installation, your total project cost drops dramatically. Plus, if a tile ever gets damaged, you can just pop it out and replace that one piece instead of redoing the entire floor, saving on long-term maintenance costs.
While the material cost per square foot for tiles can be a little higher than rolls, the ability to install them yourself often makes tiles the most budget-friendly path for smaller, straightforward spaces.
Rubber Rolls: The Seamless Choice for Large Areas
For large, open spaces where you need a seamless and ultra-durable finish, rubber rolls are the go-to solution. These heavy rolls are laid out and typically glued down to the subfloor, creating a uniform surface with almost no seams. This makes them the champion for commercial settings that see a ton of foot traffic and demanding use.
A seamless floor isn’t just about looking good; it's also about hygiene and easy maintenance. Fewer seams mean fewer places for dirt, grime, and moisture to get trapped. This makes the floor much easier to keep clean and sanitary over its lifetime.
Real-World Example: A Commercial Fitness Center
Picture a sprawling 5,000-square-foot commercial gym. The owner needs a floor that can stand up to constant abuse from treadmills, high-intensity classes, and thousands of footsteps every day. Durability and a professional appearance are non-negotiable.
- How-To: Hire a professional crew to install large rubber rolls using a glue-down method.
- Benefit: The main advantages are durability and a polished, professional finish. While this requires professional installers, the higher upfront rubber flooring installation cost is a smart investment in a floor that will perform for years under heavy commercial use, protecting the subfloor and enhancing the facility's aesthetic.
Poured-in-Place Rubber: The Premium Custom Solution
Poured-in-place rubber is the top-of-the-line, fully customizable option. The process involves mixing rubber granules with a special binder and literally pouring it on-site. The result is a completely seamless, cushioned surface that can be tailored with custom colors, logos, and intricate patterns.
This is the system you see where safety and design are the absolute top priorities, like playgrounds and specialized athletic training centers. This level of customization and performance comes with the highest price tag for both materials and specialized labor. Its use in schools is a perfect example of putting safety ahead of cost. You can explore more about the benefits of rubber flooring for classrooms and other learning environments.
Real-World Example: A Custom-Designed Playground
A local school is building a new playground and needs a surface that meets strict safety standards for fall heights. They also want to weave the school's colors and mascot right into the playground's design.
- How-To: Contract a specialized company to design and install a poured-in-place rubber surface.
- Benefit: The key advantages are unmatched safety and total design freedom. The cushioned surface can be calibrated to a specific thickness to protect kids from falls, and the design can reinforce school branding. The higher cost reflects its status as a high-performance safety system that minimizes liability and enhances school spirit.
Decoding Professional Installation Labor Costs

Beyond the price of the rubber itself, labor is the other major line item that shapes your final rubber flooring installation cost. When you hire a professional, you aren't just paying for an extra pair of hands; you're investing in their expertise, specialized tools, and the peace of mind that comes with a job done right.
Think of it like hiring an expert IT consultant. You're not just paying for them to plug in cables. You're paying for their knowledge of network security, their diagnostic tools, and their ability to prevent costly downtime. Professional flooring installation is a technical process that guarantees a durable, safe, and fantastic-looking result.
The Anatomy of a Professional Installation Quote
When a contractor provides a quote, the labor portion covers several distinct tasks. Each step demands time, skill, and specific equipment, all factored into the price. Here’s a breakdown of what a typical project entails.
1. Subfloor Preparation
This is the most critical—and often underestimated—part of the job. A perfect installation needs a perfect foundation. No exceptions.
- Cleaning and Clearing: The area must be completely free of dust, debris, and any old flooring or adhesive.
- Leveling and Smoothing: A professional will grind down high spots and use self-leveling compounds to fill dips and cracks. An uneven subfloor will show through your new rubber, creating an unsightly and potentially unsafe surface.
- Moisture Testing and Remediation: For concrete subfloors, moisture testing is crucial. High moisture levels can destroy the adhesive, causing the flooring to peel and bubble. A moisture barrier may be necessary, adding to the cost but preventing a complete flooring failure.
2. Material Acclimation and Layout
Rubber flooring can't just come off the truck and go straight onto the floor. It needs to sit in the installation space for 24-48 hours to acclimate to the room's temperature and humidity. This simple step prevents shrinking or expanding after it's laid. The installer also maps out the layout to minimize waste and place seams strategically.
From Adhesive to Finishing Touches
Once the subfloor is pristine and the material has acclimated, the real hands-on work begins. This is where skill and precision directly impact your rubber flooring installation cost.
Real-World Example: Simple vs. Complex Labor
Scenario A (Lower Labor Cost): Installing interlocking tiles in a 200 sq. ft. rectangular home gym. The job is straightforward, with minimal cutting and no adhesive.
- How-To: A DIY-er or a single installer can complete this quickly.
- Benefit: The simplicity results in a much lower labor charge, keeping the overall project cost down.
Scenario B (Higher Labor Cost): Gluing down heavy-duty rubber rolls in a 2,000 sq. ft. commercial fitness center with curved walls and support columns. This project needs a skilled crew to handle heavy material, make precise cuts, and apply adhesive correctly.
- How-To: A professional team with specialized tools is required.
- Benefit: The investment in expert labor guarantees a durable, seamless floor that withstands heavy commercial use and looks professional. For facilities like these, understanding material demands is crucial, which is why our guide on heavy-duty rubber floor mats can be so helpful.
3. Cutting, Fitting, and Adhesion
This is where a professional truly earns their keep.
- Precise Cutting: Installers use specialized knives and straightedges for exact cuts around walls, doorways, and fixtures. Poor cuts are a glaring sign of an amateur job.
- Adhesive Application: For glue-down installs, the adhesive must be spread evenly with the correct trowel. Too little glue leads to peeling; too much can ooze through seams.
- Seam Sealing: On rolled rubber, seams are often sealed to create a waterproof, unified surface, an essential step for hygiene in gyms and clinics.
Breaking it down, you can see that professional labor is far more than just laying flooring. It’s a technical service that ensures your investment not only looks great on day one but lasts for years.
Hidden Variables That Affect Your Final Price
When budgeting for rubber flooring, it’s easy to focus on material and labor costs. However, several "hidden" variables can quietly add hundreds, or even thousands, of dollars to your final bill.
Think of it like getting a quote for business software. The license fee seems straightforward, but implementation, training, and data migration fees can significantly increase the total investment. Spotting these potential cost drivers early is key to a realistic budget and avoiding surprises.
This infographic breaks down the core stages of an installation and shows where these hidden costs often appear.
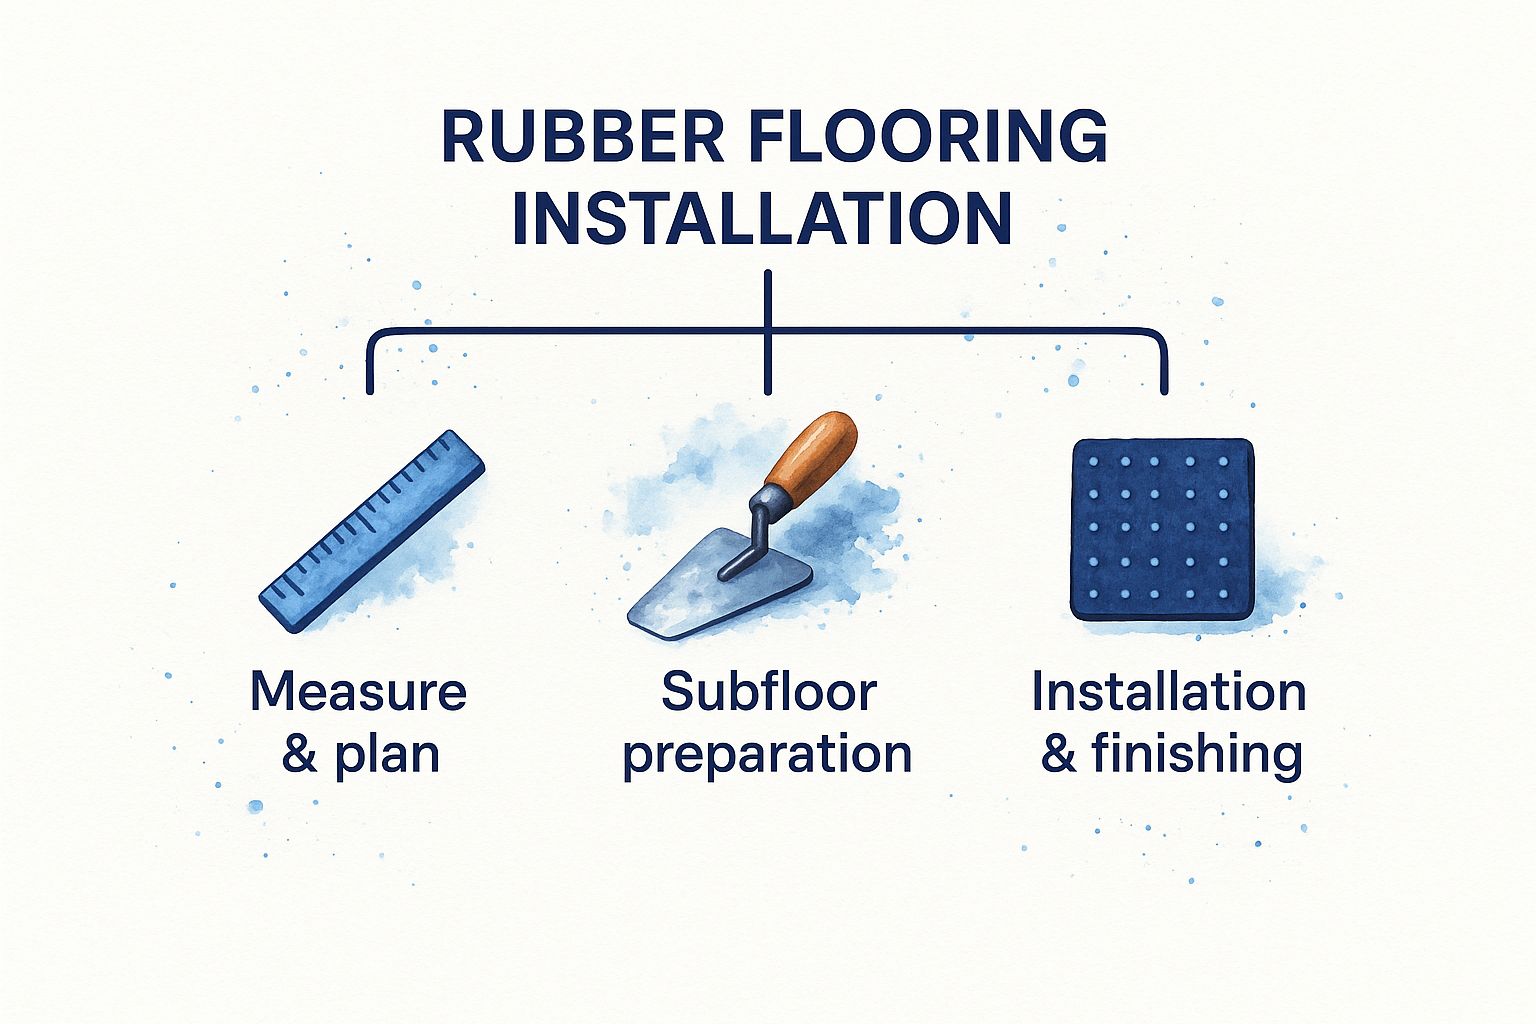
As you can see, everything starts with proper subfloor preparation. This single step is the foundation for the entire project, and it’s also where many unexpected costs love to hide.
The Critical Role of Your Subfloor
The condition of your subfloor is the most significant hidden variable you'll face. A perfectly flat, clean concrete slab makes for a straightforward, lower-cost job. Unfortunately, most are not perfect.
Any of these common issues will drive up your labor costs:
- Cracks and Damage: Significant cracks or holes must be professionally filled and repaired.
- Uneven Surfaces: Installers must grind down high spots and use expensive self-leveling compounds to fill low spots.
- Moisture Issues: High moisture in a concrete slab can destroy adhesive. A moisture test is essential, and if levels are high, a costly moisture barrier becomes necessary.
Real-World Example: Imagine a business owner converting an old warehouse into a fitness studio. The concrete subfloor is cracked and uneven.
- How-To: The installation crew must spend two days grinding, patching, and pouring a self-leveling agent.
- Benefit: While this prep work adds nearly $2,000 to the project cost, it prevents the new floor from failing within a year. This upfront cost saves tens of thousands in future replacement costs and business disruption.
Project Complexity and Layout
The shape of your room matters. A simple, square room is easy. But curved walls, support columns, or built-in equipment require intricate work.
Each obstacle demands a precise, custom cut. This slow, skilled work is reflected in your labor charges. A room with ten corners will always cost more to floor than one with four, even with the same square footage.
The demand for high-quality commercial flooring isn't slowing down. The global commercial rubber flooring market was valued at around $3.56 billion in 2025 and is on track to hit about $5.81 billion by 2033. North America holds a 36.1% market share. You can explore more data in Cognitive Market Research's full report.
Geographic Location and Labor Rates
Where your project is located makes a real difference. Labor rates vary significantly by region. An installer in a major city like New York will charge more than one in a small rural town. This "geographic premium" can easily increase your total rubber flooring installation cost by 15-20%.
Material Thickness and Intended Use
Finally, the thickness of the rubber is a direct cost factor. A thin rubber roll for a low-traffic playroom is far less expensive than thick, high-impact tiles for a weightlifting platform.
Your intended use should always dictate the thickness.
- High-Impact Zones: Areas for heavy weightlifting need thicker rubber (8mm or more) to absorb shock and protect the subfloor.
- Low-Impact Areas: Cardio zones or yoga studios can use thinner, more affordable options.
Actionable Takeaway: By creating a "zone map" of your facility and matching the rubber thickness to the activity in each zone, you can avoid overspending on materials where it isn't needed. This is one of the smartest ways to control your costs.
DIY Installation vs. Hiring a Pro
Deciding whether to install your rubber flooring yourself or hire a professional is a major choice that significantly impacts your total rubber flooring installation cost, timeline, and final quality. It's about honestly weighing your skills, the value of your time, and your performance expectations for the floor.
Think of it like setting up your company's computer network. You might handle connecting a few office PCs yourself. But for a full server installation with integrated security, hiring an IT specialist is the only way to ensure it's done correctly and securely. The right choice depends on the job's complexity and the flooring you’ve picked.
When DIY Makes Perfect Sense
Going the DIY route is most practical for small, simple layouts using materials designed for easy installation, like interlocking rubber tiles.
- Small, Simple Spaces: A square or rectangular room like a home gym or workshop is an ideal DIY project.
- Interlocking Tiles: These are the superstars of DIY flooring. They connect like puzzle pieces, usually requiring only a utility knife.
- Minimal Subfloor Prep: If your existing floor is clean, level, and dry, you can often lay tiles right on top.
Real-World Example: A DIY Home Gym
A homeowner wants to turn a 150-square-foot concrete garage space into a personal gym.
- How-To: They purchase interlocking rubber tiles and spend a Saturday afternoon laying them.
- Benefit: They completely avoid the $300 to $600 in professional labor costs. That savings can be reinvested into more gym equipment, making their overall project more valuable.
When to Call in the Professionals
While saving on labor is tempting, some jobs absolutely demand a pro's touch. A botched complex installation can lead to ugly seams, poor adhesion, and a floor that fails prematurely.
- Heavy Rubber Rolls: These are incredibly heavy and difficult to handle. A professional team has the right equipment and experience for a seamless look.
- Poured-in-Place Systems: This is a chemical process requiring specialized binders and techniques. Never attempt this yourself.
- Complex Layouts: Rooms with curves, columns, or nooks require an expert for clean, professional cuts.
- Subfloor Issues: If your subfloor is cracked, uneven, or has moisture problems, you need a pro to prepare the surface correctly.
The peace of mind that comes with a professional job often includes a warranty. This guarantee protects your investment from any installation mistakes—a safety net you just don't get when you go it alone.
Take a school gymnasium. For gymnasium rubber flooring, 2025 prices are $6.50 to $8.50 per square foot for top-tier rubber, with installation adding $2.50 to $4 per square foot. In this case, hiring a pro is essential to protect a major investment. You can explore the cost-effectiveness of rubber versus traditional maple flooring.
Decision Matrix: DIY vs. Professional Installation
Still on the fence? This table breaks down the key factors to help you make the right call. In commercial settings, the comfort and safety of workers often hinge on expertly installed flooring, a topic we cover in our guide to industrial anti-fatigue mats.
| Factor | DIY Installation | Professional Installation |
|---|---|---|
| Upfront Cost | Lower (materials only) | Higher (materials + labor) |
| Best For | Interlocking tiles, small & simple rooms | Rubber rolls, poured systems, large & complex areas |
| Required Skill | Basic, with attention to detail | Advanced, with specialized knowledge |
| Tools Needed | Basic hand tools (utility knife, etc.) | Specialized equipment (heavy rollers, trowels) |
| Time Commitment | Significant personal time required | Minimal personal time required |
| Final Quality | Dependent on your skill and patience | Guaranteed professional finish with a warranty |
Ultimately, choosing between DIY and hiring a pro is a cost-benefit analysis. A successful DIY project in a small room is rewarding and saves money. But for larger, more complicated jobs, the expert finish and long-term security from a pro are well worth the added rubber flooring installation cost.
Actionable Tips to Lower Your Installation Cost
Knowing the numbers is one thing, but actively reducing them is what makes a project successful. While you should never compromise on quality, there are several smart, practical ways to shrink your final rubber flooring installation cost. With some strategic planning, you can make your budget go further.
Think of it like managing business expenses. You could just pay every invoice as it comes, or you could negotiate with vendors, bundle services, and look for efficiencies to reduce overhead. A few strategic moves here can lead to significant savings.
1. Prepare the Space Yourself
One of the easiest ways to reduce your labor bill is to handle non-technical prep work yourself. Installers charge for every hour on-site, and tasks like demolition and cleanup can add up quickly.
- Remove Old Flooring: Tearing out old carpet or vinyl is often a straightforward job that can save you hundreds in labor.
- Clear the Area: Completely empty the room of furniture, equipment, and obstacles before the crew arrives.
- Perform a Deep Clean: After removing the old floor, thoroughly sweep and vacuum the subfloor. A clean starting point means your installer spends less time on prep.
2. Be a Smart Shopper
When and where you buy materials can massively impact your total spend. Don't accept the first price you see. A little research will pay off.
Real-World Example: A Small Business Owner's Win
The owner of a new boutique spin studio needed to floor a 1,200 sq. ft. space.
- How-To: She waited for a Black Friday sale and bought her preferred rubber rolls at a 20% discount. She also purchased directly from a wholesaler instead of her contractor, saving another 10%.
- Benefit: These two simple moves cut her material costs by nearly $1,500, freeing up cash for marketing her new studio.
Actionable Takeaway: Always get at least three detailed quotes from different, reputable contractors. This establishes a fair market rate and gives you negotiation leverage. Insist that each quote itemizes material and labor costs for a true apples-to-apples comparison.
3. Choose Your Materials Wisely
The type of rubber flooring you choose is a major cost driver. For many projects, you can opt for more cost-effective materials without sacrificing performance.
- Consider Recycled Rubber: Look for flooring made from high-quality recycled rubber. It’s often priced lower than virgin rubber and is a great eco-friendly choice.
- Negotiate a Labor-Only Contract: If you find a great deal on materials yourself, hire an installer for a labor-only contract. This separates your two biggest expenses and gives you more control.
- Prioritize Safety Features: Especially in commercial spaces, a floor that prevents accidents is crucial. Learn more about how flooring contributes to safety in our guide on anti-slip floor mats.
Still Have Questions About Rubber Flooring Costs?
After digging into the details, you might still have a few questions about the total rubber flooring installation cost. This final section provides quick, clear answers to help you finalize your budget with confidence.
What Is the Safest Flooring for an Outdoor Playground?
Rubber tiles and poured-in-place rubber are the safest choices. They come with certifiable fall height ratings, the most critical safety factor for a play area.
For a family planning a backyard playground in 2025, budget between $5 to $15 per square foot for materials and installation. For a standard 200-square-foot area, that's roughly $2,450 to $4,150. Professional labor typically adds another $1 to $4 per square foot. You can discover more insights about playground flooring costs on Angi.com.
Key Insight: When it comes to playgrounds, always prioritize the material's fall height rating over the price. This rating indicates the maximum height a child can fall from without risking a life-threatening head injury. It's a non-negotiable safety feature that can reduce liability.
Can You Install Rubber Flooring Over Existing Floors?
Yes, in many cases, you can. It's possible to lay rubber flooring over a hard surface like concrete, tile, or vinyl, but only if the original floor is in excellent condition.
This means the existing floor must be:
- Completely Level and Smooth: Any bumps or dips will show through the new rubber floor.
- Clean and Dry: The surface must be free of dirt, dust, and moisture.
- Structurally Sound: It cannot have any cracks, crumbling spots, or damage.
Actionable Takeaway: Interlocking rubber tiles are perfect for this type of "floating" installation as they don't require adhesive. However, for glue-down rubber rolls, starting with a perfectly prepped subfloor is almost always the better choice for long-term durability and to protect your investment.
At Mats4U, we're here to help you find the perfect flooring solution that fits your budget, meets your safety needs, and lasts for years. With over 50 years of experience in high-quality commercial and residential matting, we offer durable products designed to protect your floors and elevate your space.
Check out our huge collection of heavy-duty rubber flooring, entrance mats, and anti-fatigue solutions today.


