


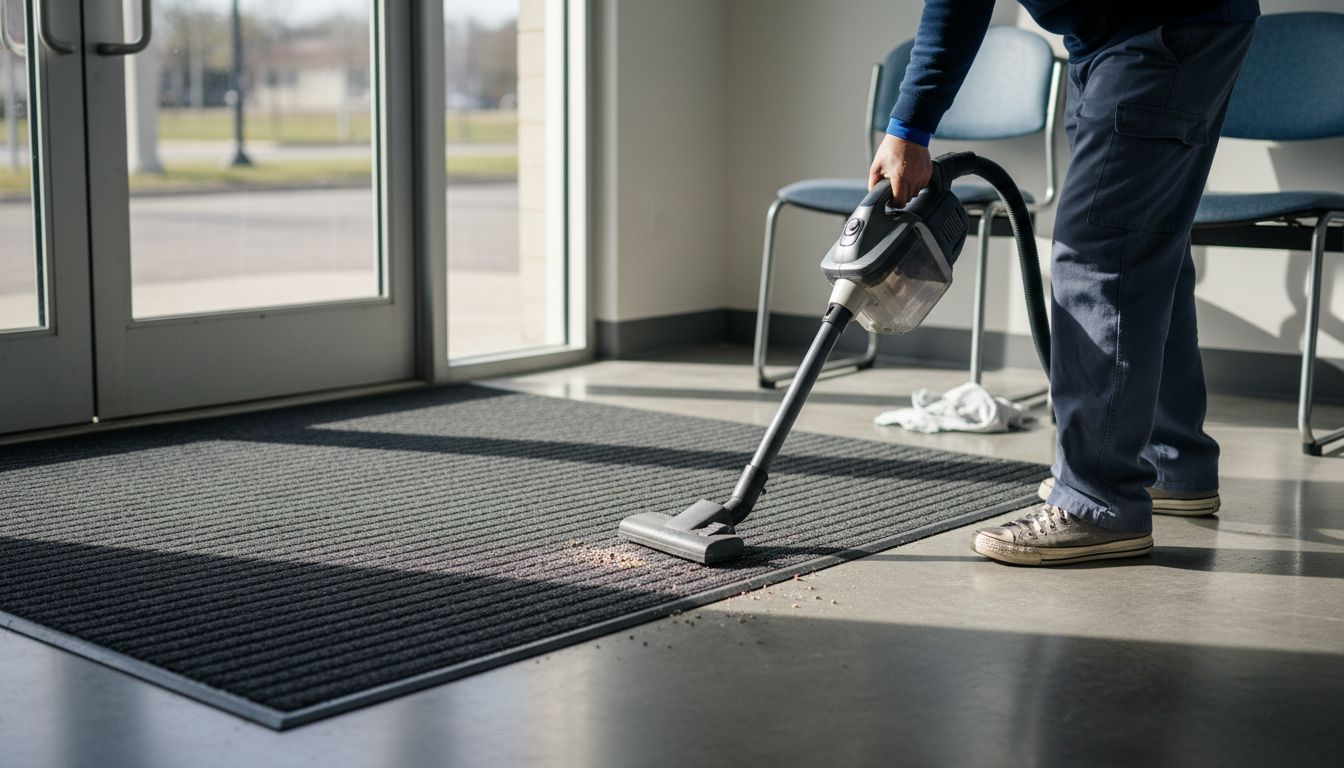
Dirty rubber mats can quickly become a hidden safety risk in high-traffic areas like American warehouses, manufacturing plants, or office lobbies. For facility managers, maintaining clean mats is not just about appearance, but about preventing slips and supporting workplace hygiene. By focusing on thorough debris removal and the right cleaning methods, you protect both your investment and the well-being of everyone who enters your facility.
Table of Contents
- Step 1: Assess Mat Condition And Remove Debris
- Step 2: Select The Best Cleaner For Rubber Mats
- Step 3: Apply Solution And Scrub Effectively
- Step 4: Rinse Thoroughly And Remove Residue
- Step 5: Inspect Mats To Confirm Cleanliness
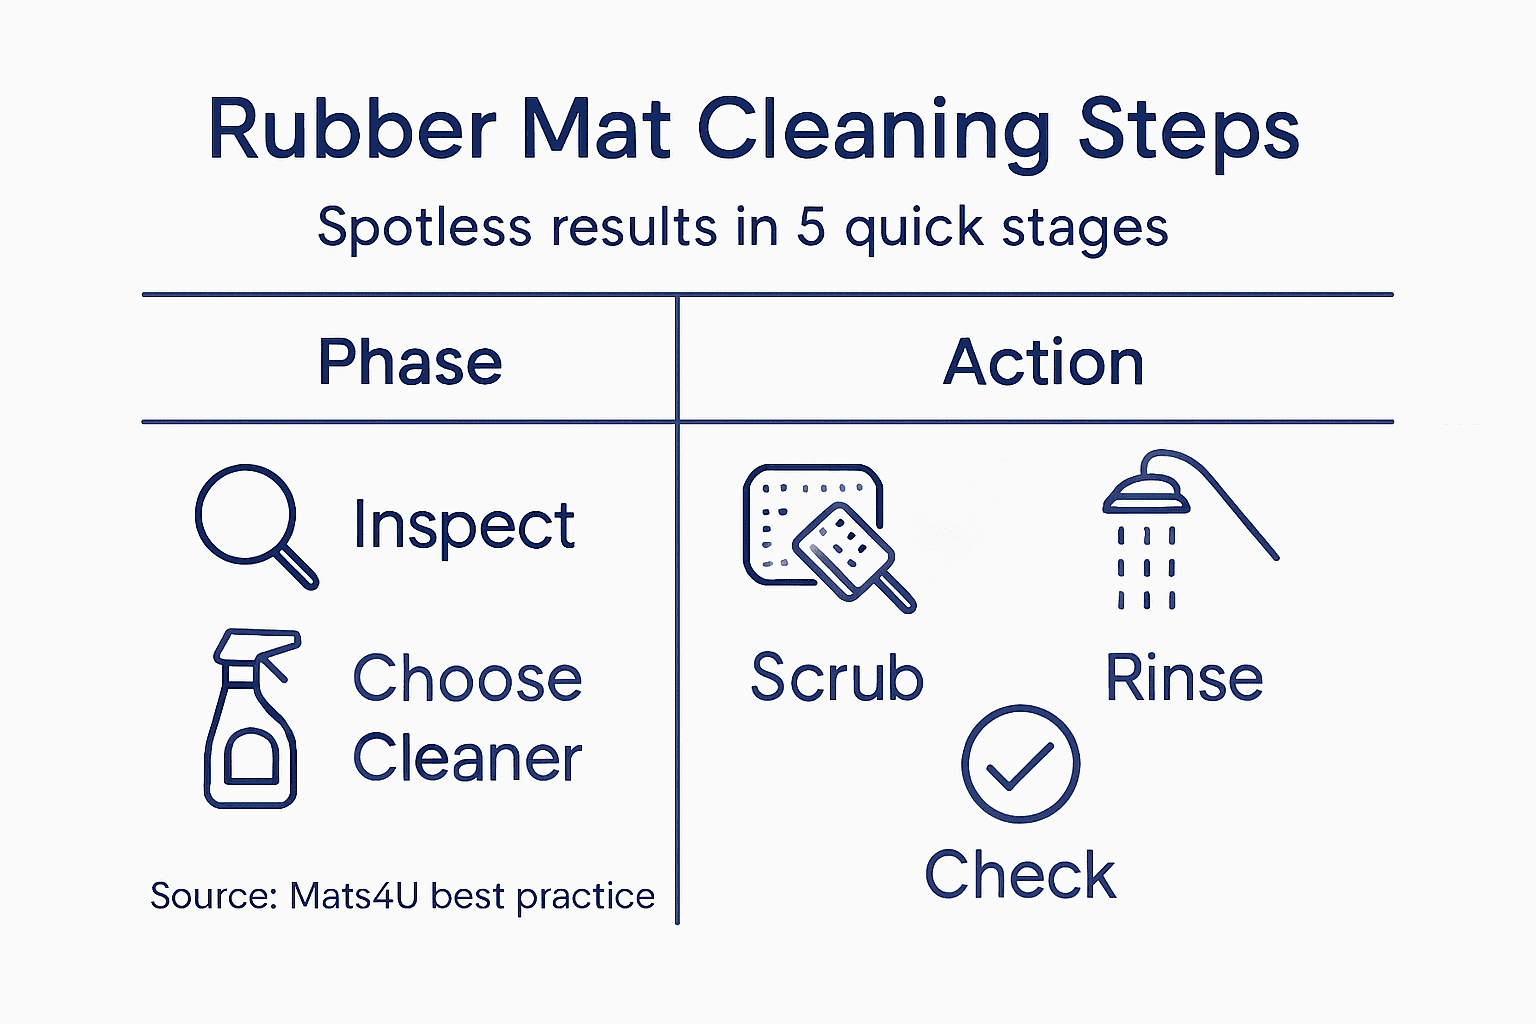
Quick Summary
| Essential Insight | Detailed Explanation |
|---|---|
| 1. Inspect Mats and Remove Debris | Begin by examining rubber mats for damage and removing loose particles to prevent scratches and enhance cleaning efficacy. |
| 2. Select the Right Cleaning Solution | Choose pH-neutral and mild cleaners designed for rubber to avoid degradation while ensuring effective disinfection. |
| 3. Use Proper Scrubbing Techniques | Apply cleaning solutions with soft brushes and moderate pressure, working in sections for thorough dirt removal without damaging the mat. |
| 4. Rinse Thoroughly to Eliminate Residue | Rinse mats multiple times with clean water, ensuring no cleaning solution remains to prevent damage or slipperiness. |
| 5. Conduct Final Inspection for Cleanliness | After cleaning, visually and tactilely check the mats to confirm cleanliness and identify any areas needing attention or replacement. |
Step 1: Assess mat condition and remove debris
Before cleaning your rubber mats, a thorough initial assessment helps prevent potential damage and ensures an effective cleaning process. Effective floor mat maintenance starts with carefully examining the mat’s surface and removing all loose particles that could scratch or degrade the material.
Begin by performing a visual inspection of your rubber mat. Look for signs of wear, tears, or significant discoloration that might indicate deeper cleaning challenges. Removing loose debris thoroughly is critical before applying any cleaning solution. Use these recommended techniques:
- Shake the mat vigorously outdoors to dislodge loose dirt
- Use a vacuum cleaner with a stiff brush attachment
- Employ a stiff-bristled brush for stubborn particles
- Check mat edges and corners for accumulated grime
Professional cleaning requires systematic debris removal. Work methodically across the entire mat surface, ensuring you capture particles in hard-to-reach areas. Pay special attention to textured sections where dirt can easily become trapped.
Proper debris removal prevents surface abrasion and prepares the mat for deep cleaning.
Pro tip: Always remove debris before introducing any liquid cleaners to prevent potentially embedding dirt deeper into the rubber surface.
Step 2: Select the best cleaner for rubber mats
Choosing the right cleaner is crucial for maintaining your rubber mats without causing damage. The selection process requires careful consideration of the mat’s material, usage environment, and specific cleaning requirements.
Selecting non-abrasive cleaning solutions is essential for preserving rubber mat integrity. Look for cleaners that meet these critical criteria:
- pH-neutral formulations
- Mild, non-harsh chemical compositions
- Disinfecting capabilities without degrading rubber
- Compatibility with commercial or industrial environments
Commercial facilities should prioritize cleaners that offer robust disinfection. Many professional-grade cleaners are specifically designed to eliminate bacteria and viruses while protecting rubber surfaces. Avoid household cleaning products that might contain aggressive chemicals which could potentially break down the mat’s material.
Not all cleaners are created equal - choose wisely to protect your investment.
When evaluating cleaning solutions, consider factors like manufacturer recommendations, surface type, and frequency of use. Some rubber mats require specialized treatments that standard cleaners cannot provide.
Pro tip: Always test a small, inconspicuous area with a new cleaning solution before applying it to the entire mat to ensure compatibility and prevent potential damage.
Step 3: Apply solution and scrub effectively
With your cleaning solution prepared, the next critical phase involves strategic application and thorough scrubbing. Proper technique ensures maximum dirt removal while protecting your rubber mat’s surface integrity.
Cleaning involves strategic surface treatment that requires methodical execution. Follow these essential scrubbing guidelines:
- Use soft-bristled brushes
- Apply cleaning solution evenly
- Work in systematic sections
- Maintain consistent, moderate pressure
- Avoid aggressive scrubbing techniques
Apply the cleaning solution using a clean microfiber mop or soft-bristled brush, ensuring complete and uniform coverage. Work methodically across the mat, dividing the surface into manageable sections to prevent missing any areas. The key is maintaining consistent but gentle pressure that removes dirt without damaging the rubber’s surface.
Effective cleaning requires precision - not brute force.
Commercial facility managers should pay special attention to high-traffic zones and areas prone to heavy soiling. Different sections might require slightly varied scrubbing intensity, so adapt your technique based on the specific area’s condition.
Pro tip: Always scrub in a consistent, overlapping pattern to ensure complete coverage and prevent missed spots during the cleaning process.
Step 4: Rinse thoroughly and remove residue
After scrubbing, rinsing becomes the critical next phase in achieving truly clean rubber mats. This step ensures complete removal of cleaning solution and prevents potential surface damage or chemical residue buildup.
Thorough rinsing eliminates chemical residues that could compromise mat integrity. Follow these essential rinsing guidelines:
- Use clean, cool water
- Rinse multiple times if needed
- Use a clean mop or squeegee
- Ensure complete coverage
- Remove all visible cleaning solution
Rinse the mat systematically, working from one end to the other to guarantee comprehensive cleaning. Pay special attention to textured areas and corners where cleaning solution might accumulate. The goal is to leave absolutely no chemical residue that could potentially degrade the rubber or create slippery surfaces.
Complete rinsing is more than a final step - it’s your quality control checkpoint.
Commercial facility managers should implement a visual and tactile inspection during rinsing. Run your hand across the surface to confirm no soapy or slick areas remain. For larger mats, consider using multiple clean water sources to prevent recontamination during the rinsing process.
Pro tip: Always use fresh, clean water for final rinses to prevent redepositing any removed dirt or chemical residues.
Step 5: Inspect mats to confirm cleanliness
Post-cleaning inspection is the final quality control checkpoint that ensures your rubber mats meet professional cleaning standards. This crucial step validates the effectiveness of your entire cleaning process and prevents potential safety issues.
Surface inspection validates cleaning results and maintains mat hygiene. Conduct a comprehensive examination using these systematic guidelines:
- Check for visible dirt or stains
- Verify complete cleaning solution removal
- Assess surface texture and integrity
- Test for residual moisture
- Confirm uniform cleanliness
Begin with a visual scan, examining the mat under good lighting to identify any remaining dirt patches or unclean areas. Run your hand across the surface to detect any slick or soapy residues that might indicate incomplete rinsing. Pay special attention to edges, corners, and textured sections where contaminants often hide.
The table below outlines common mat conditions and what to do:
| Condition Observed | Suggested Action | Resulting Benefit |
|---|---|---|
| Edge tearing | Consider mat replacement | Avoid trip hazards |
| Discoloration | Use gentle, pH-neutral cleaner | Maintain appearance and longevity |
| Residual stickiness | Rinse thoroughly with clean water | Prevents slippery surface |
| Ground-in stains | Spot-treat and re-scrub | Improved overall cleanliness |
A thorough inspection is your final defense against potential cleaning failures.
Commercial facility managers should document their inspection process, noting any areas requiring additional attention or potential mat replacement. A systematic approach ensures consistent cleaning standards and extends mat longevity.
Pro tip: Keep a clean, white towel handy during inspection to help reveal any remaining dirt or residue that might be less visible on the mat’s surface.
Here is a quick reference comparing key phases of the rubber mat cleaning process:
| Cleaning Phase | Main Goal | Key Risk if Skipped |
|---|---|---|
| Debris Removal | Eliminate loose dirt and grit | Surface scratching, embedded dirt |
| Cleaner Selection | Choose safe, effective solution | Rubber degradation, discoloration |
| Scrubbing | Dislodge stubborn soil | Incomplete cleaning, surface wear |
| Rinsing | Remove all residues | Slippery/unsafe surfaces |
| Final Inspection | Confirm mat is fully clean | Missed dirt, hygiene issues |
Keep Your Rubber Mats Spotless with Durable Solutions from Mats4U
Cleaning your rubber mats carefully using the best methods and cleaners is essential to prolong their life and maintain safety. Proper debris removal, selecting a safe cleaning solution, and thorough rinsing are all key to avoiding damage and ensuring a spotless surface. If you are facing challenges like embedded dirt, discoloration, or maintaining cleanliness in high-traffic areas, finding the right mats designed for durability and ease of maintenance can reduce these headaches.
Explore our wide selection of Commercial Mats crafted for demanding environments that resist wear and simplify upkeep. Complement your routine with reliable Accessories to protect and extend the life of your mats. Visit Mats4U.com now to discover quality American-made mats with competitive pricing and free delivery over $100. Take control of your floor safety today and invest in mats designed to stay clean and last longer.
Frequently Asked Questions
What is the best type of cleaner for rubber mats?
The best type of cleaner for rubber mats is a pH-neutral, non-abrasive solution. Choose a cleaner that won’t degrade the mat’s material while effectively removing dirt and odors.
How should I apply the cleaner to ensure effective cleaning of rubber mats?
Apply the cleaner using a clean microfiber mop or a soft-bristled brush, ensuring even coverage across the mat. Work in systematic sections and use consistent, moderate pressure to avoid damaging the rubber surface.
How do I determine if my rubber mat is fully clean after washing?
To confirm your rubber mat is fully clean, perform a thorough inspection for any visible dirt, stains, or slippery residues. Run your hand over the surface to check for slick spots, ensuring no cleaning solution remains.
Can I use household cleaners on rubber mats?
It’s not recommended to use household cleaners on rubber mats, as they often contain harsh chemicals that can break down the rubber. Instead, opt for cleaners specifically formulated for rubber surfaces to maintain their integrity and longevity.
What steps should I follow for rinsing rubber mats after cleaning?
For rinsing rubber mats, use clean, cool water and rinse multiple times to remove all cleaning residues. Make sure to cover the entire surface and utilize a clean mop or squeegee to facilitate thorough rinsing.
How often should I clean my rubber mats for optimal maintenance?
Clean your rubber mats regularly, ideally every few weeks or more frequently in high-traffic areas. This practice helps maintain hygiene and extends the life of your mats, keeping them looking their best.
Recommended
- A Practical Guide to Cleaning Rubber Floor Surfaces – Mats4U USA
- How to Clean Rubber Floors: A Practical Step-by-Step Guide – Mats4U USA
- The Ultimate Guide to Cleaning Rubber Flooring for Longevity and Safet – Mats4U USA
- Cleaning Rubber Floor Mats: Achieve Spotless Results Easily – Mats4U USA
- How to Clean Golf Shoes: Leather, Mesh, Spikes & Care Tips – More Sports


