


Tracking dirt and moisture through busy corridors can quickly wear down even the toughest floors. For facility managers across the United States, keeping high-traffic areas protected with durable all-weather mats is a daily challenge. Gathering the right cleaning supplies, including detergent, bleach, sponges, buckets, rubber gloves, mops, brooms, and heavy-duty trash bags, is the foundation for maintaining mat performance and longevity. Learn practical strategies to streamline your cleaning routine and maximize the lifespan of your all-weather mats.
Table of Contents
- Step 1: Gather Necessary Cleaning Supplies
- Step 2: Remove Loose Debris from the Mats
- Step 3: Apply Cleaning Solution Evenly
- Step 4: Scrub and Rinse All Weather Mats
- Step 5: Inspect Mats for Cleanliness and Dry
Quick Summary
| Key Point | Explanation |
|---|---|
| 1. Gather essential cleaning supplies | Assemble tools like detergent, brushes, and gloves to ensure effective cleaning of all-weather mats. |
| 2. Remove loose debris thoroughly | Shake and tap mats outside to remove dirt, preventing scratches during deep cleaning. |
| 3. Apply cleaning solution evenly | Use a mild detergent and spread it systematically to avoid concentrated areas and ensure even cleaning. |
| 4. Scrub and rinse mats carefully | Scrub with gentle pressure and rinse thoroughly to eliminate soap residue and dirt, ensuring mat integrity. |
| 5. Ensure proper drying methods | Air-dry mats in a shaded area to prevent damage and avoid mold, ensuring they are completely dry before use. |
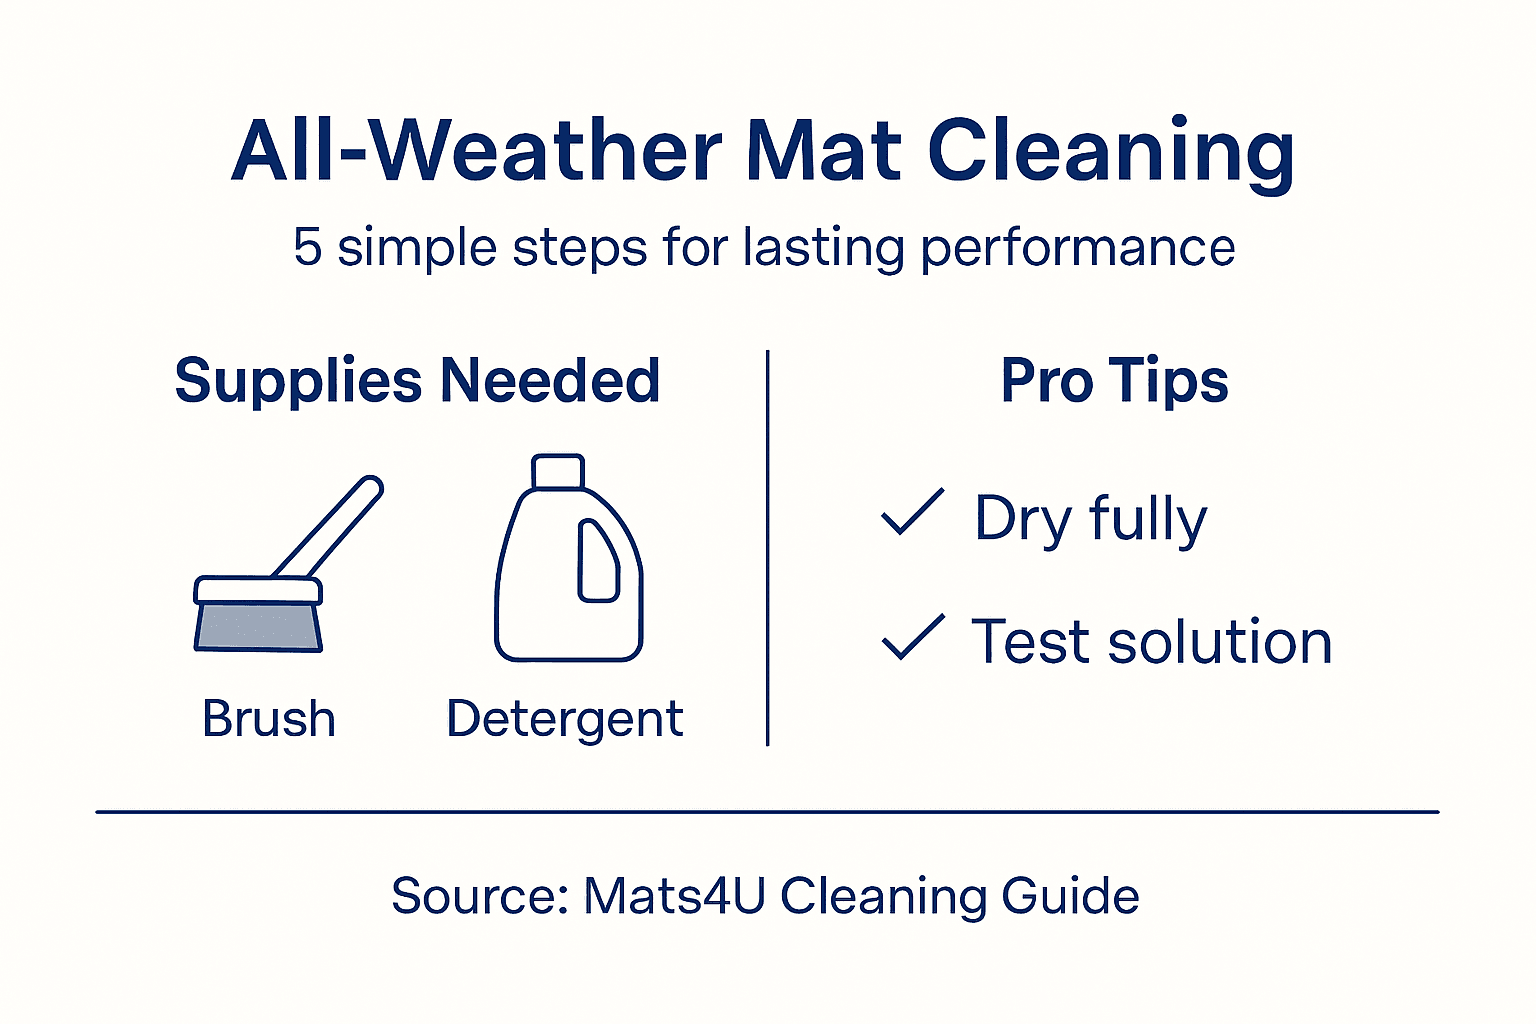
Step 1: Gather Necessary Cleaning Supplies
Gathering the right cleaning supplies is crucial for effectively maintaining your all-weather mats and ensuring their lasting performance. Having a comprehensive set of tools and materials will make the cleaning process smoother and more efficient.
To prepare for cleaning, you’ll want to assemble the following essential supplies:
- Large bucket or basin
- Mild liquid detergent
- Soft-bristled scrub brush
- Microfiber cloths or clean rags
- Rubber gloves
- Garden hose or pressure washer
- Clean water source
When selecting cleaning agents, choose a mild detergent specifically safe for your mat’s material. Some all-weather mats require specialized cleaning solutions for disaster recovery to prevent damage and maintain their protective properties.
Always check your mat’s manufacturer recommendations before beginning the cleaning process to avoid accidentally voiding the warranty.
Protective gear is equally important during mat cleaning. Wear rubber gloves to protect your hands from cleaning chemicals and potential dirt or grime. If you’re using stronger cleaning agents, consider eye protection as an extra safety measure.
Pro tip: Keep a dedicated set of cleaning supplies just for floor mats to prevent cross-contamination and maintain a consistent cleaning routine.
Compare these common cleaning tools by their typical use and suitability:
| Tool | Best Use | Mat Type Suitability |
|---|---|---|
| Soft-bristled brush | Gentle scrubbing, stain removal | Rubber, vinyl, fabric |
| Microfiber cloth | Wiping, buffing | All materials |
| Garden hose | Rinsing, large mats | Outdoor, heavy-duty mats |
| Vacuum cleaner | Removing loose debris | Indoor, fabric mats |
Step 2: Remove Loose Debris from the Mats
Removing loose debris is the critical first step in preparing your all-weather mats for a thorough cleaning. This preliminary stage helps prevent scratching and ensures a more effective deep cleaning process.
Start by taking your mats outside to an open area where you can shake and clean them without making a mess. Use these techniques to effectively remove loose dirt and debris:
- Shake the mats vigorously to dislodge dirt and particles
- Tap mats against a hard surface like a concrete wall or fence
- Use a stiff-bristled broom to sweep away remaining debris
- For indoor mats, use a vacuum with a strong suction setting
When dealing with heavily soiled mats, you’ll want to use techniques similar to those recommended for disaster recovery cleanup. This means being thorough but gentle to prevent damaging the mat’s surface.
Pay special attention to mat edges and corners, where dirt and debris tend to accumulate most.
If you’re cleaning outdoor or commercial mats that have collected significant debris, consider using a leaf blower for quick and efficient initial cleaning. For more delicate indoor mats, a handheld vacuum with attachments works best.
Pro tip: Clean your mats in a well-ventilated area to prevent dust from resettling and to make the entire cleaning process more comfortable.
Step 3: Apply Cleaning Solution Evenly
Applying the cleaning solution correctly is crucial for effectively removing dirt and maintaining your all-weather mat’s integrity. The right technique ensures thorough cleaning without damaging the mat’s surface.
Prepare your cleaning solution with these key considerations:
- Mix a mild detergent with warm water
- Use a spray bottle for controlled application
- Avoid harsh chemicals that can degrade mat material
- Prepare only enough solution for immediate use
When applying the solution, follow techniques similar to those recommended for disaster recovery cleanup. Work systematically across the entire mat surface, ensuring even coverage and preventing concentrated chemical spots.
For best results, apply the cleaning solution in a consistent, overlapping pattern to guarantee complete mat coverage.
If you’re dealing with stubborn stains, allow the cleaning solution to sit for 2-3 minutes before scrubbing. This soaking time helps loosen embedded dirt without requiring aggressive scrubbing that could damage the mat’s fibers.
Use a soft-bristled brush or microfiber cloth to spread the solution gently, working from the center of the mat outward to prevent uneven cleaning and potential solution pooling.
Pro tip: Test your cleaning solution on a small, inconspicuous mat area first to ensure it doesn’t cause discoloration or damage.
Step 4: Scrub and Rinse All Weather Mats
Scrubbing and rinsing are critical steps in thoroughly cleaning your all-weather mats. These actions help remove embedded dirt and ensure your mats look fresh and maintain their protective properties.
When scrubbing, follow these essential techniques:
- Use a soft to medium-bristled brush
- Apply gentle but consistent pressure
- Work in circular motions across the mat surface
- Focus on heavily soiled or stained areas
Follow cleaning recommendations similar to those used in disaster recovery cleanup. Maintain consistent scrubbing pressure to avoid damaging the mat’s fibers while effectively removing dirt.
Always scrub systematically, moving from one section to another to ensure complete coverage and thorough cleaning.
After scrubbing, rinse the mat thoroughly with clean water. Use a garden hose or clean bucket to remove all soap residue. For commercial or heavily used mats, you might need to repeat the scrubbing and rinsing process to achieve optimal cleanliness.
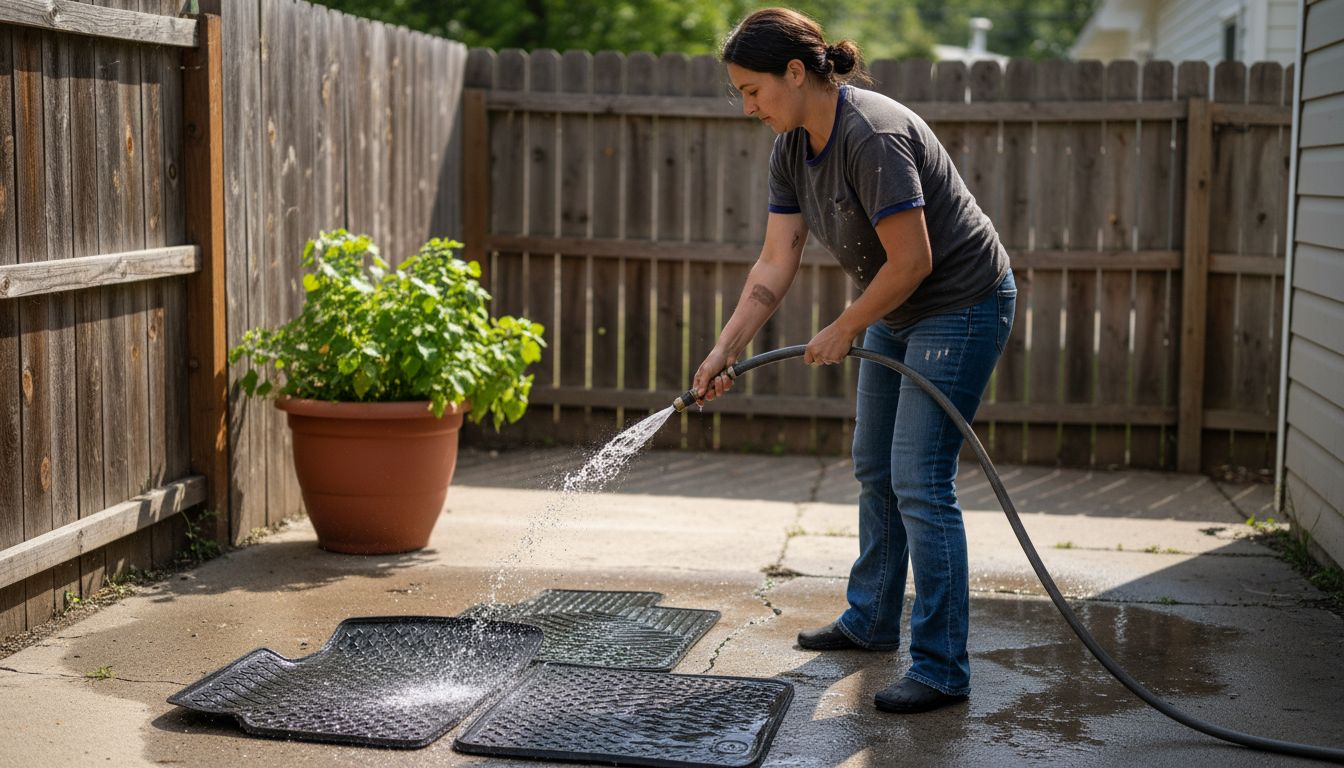
Be cautious with water pressure - too much force can damage the mat’s surface. A gentle, steady stream works best for rinsing away dirt and cleaning solution.
Pro tip: Angle your mat slightly during rinsing to allow water to flow off easily and prevent pooling.
Step 5: Inspect Mats for Cleanliness and Dry
The final stage of mat cleaning involves a thorough inspection and proper drying process. This crucial step ensures your all-weather mats are completely clean and ready for future use.
When inspecting your mats, focus on these key areas:
- Check for remaining dirt or stain spots
- Verify complete soap residue removal
- Examine mat texture and color
- Look for any potential damage during cleaning
Following techniques recommended for disaster recovery cleanup, conduct a systematic visual inspection to confirm thorough cleaning. If you notice any persistent stains, consider repeating the cleaning process.
A meticulous inspection prevents potential long-term damage and maintains mat quality.
Drying methods are equally important to prevent mold and mildew growth. Choose one of these effective approaches:
Here’s a summary of proper drying methods and their advantages:
| Drying Method | Key Benefit | Best For |
|---|---|---|
| Air dry in shade | Prevents color fading | All-weather mats |
| Towel dry | Quickly removes surface moisture | Thick or absorbent mats |
| Stand vertically | Maximizes air flow | Large or heavy mats |
| Indirect ventilation | Reduces mold risk | Humid environments |
- Air dry in a well-ventilated area
- Use a clean towel to remove excess moisture
- Stand mats vertically to maximize air circulation
- Avoid direct sunlight to prevent material degradation
Ensure mats are completely dry before returning them to their original location. Moisture trapped underneath can lead to bacterial growth and unpleasant odors.
Pro tip: Use a clean, dry microfiber cloth to speed up the drying process and absorb remaining moisture effectively.
Keep Your All-Weather Mats Performing Their Best with Mats4U
Cleaning all-weather mats properly can be a challenge when dirt, stains, and wear build up over time. This guide highlights how gathering the right supplies and following effective scrubbing and rinsing techniques preserve your mats’ durability and appearance. If you want to avoid common pitfalls like leftover residue or fiber damage, choosing mats that are easy to maintain and built tough is essential.
Explore our wide selection of Commercial Mats designed specifically for high-traffic and industrial environments. Our mats are made in the USA with durable materials that withstand rigorous cleaning routines and daily use. Start with high-quality mats from Mats4U.com to experience lasting performance and save time on maintenance. Don’t wait until your mats are heavily soiled or worn out. Protect your investment by upgrading today and enjoy competitive pricing plus free delivery on orders over $100.
Discover the right cleaning accessories and mat options tailored to your needs by browsing our Accessories collection. Take action now to keep your floors safe, clean, and professional looking with trusted solutions from Mats4U.
Frequently Asked Questions
How do I gather the necessary supplies for cleaning all weather mats?
Gather supplies like a large bucket, mild liquid detergent, a soft-bristled scrub brush, microfiber cloths, rubber gloves, and a garden hose. Prepare these items before starting to ensure a smooth cleaning process.
What is the best way to remove loose debris from my all weather mats?
Start by shaking the mats to dislodge dirt, tapping them against a hard surface, and using a stiff-bristled broom or vacuum to remove remaining debris. Ensure this step is thorough to prevent scratching during the cleaning process.
How should I apply the cleaning solution to my all weather mats?
Mix a mild detergent with warm water and apply it evenly using a spray bottle for controlled coverage. Work systematically across the mat surface, ensuring even distribution to maximize cleaning effectiveness.
What techniques should I use when scrubbing and rinsing all weather mats?
Use a soft to medium-bristled brush, scrubbing gently in circular motions, and focus on heavily soiled areas. After scrubbing, rinse thoroughly using a garden hose to remove all soap residue and ensure a deep clean.
How can I inspect my all weather mats for cleanliness after washing?
Perform a visual inspection by checking for remaining dirt, stains, or soap residue to ensure a thorough clean. If you find any areas that need further attention, consider repeating the cleaning process until satisfied.
What are the best drying methods for all weather mats after washing?
Air dry the mats in a well-ventilated area to prevent moisture buildup, or use a clean towel to absorb excess moisture. Ensure mats are completely dry before placing them back in their original location to avoid mold growth.


