


Rubber gym mats stand up to thousands of footsteps and drops every week. You might think a quick mop or a common cleaner would be enough to keep them fresh. Yet even the best mats can lose half their lifespan if they are cleaned the wrong way or with the wrong products, according to emerging standards from ASTM International. The real secret to long-lasting, hygienic flooring takes more than just soap and water. The methods that actually work may surprise you.
Table of Contents
- Step 1: Assess Your Rubber Gym Mats’ Condition
- Step 2: Gather Essential Cleaning Supplies
- Step 3: Prepare the Cleaning Solution
- Step 4: Clean the Rubber Gym Mats Thoroughly
- Step 5: Rinse and Dry the Mats Properly
- Step 6: Inspect and Maintain for Long-Term Care
Quick Summary
| Key Point | Explanation |
|---|---|
| 1. Assess mat condition thoroughly. | Inspect mats for cracks, stains, and wear to inform cleaning strategies and maintenance needs. |
| 2. Use proper cleaning supplies. | Select soft brushes and pH-neutral cleaners designed for rubber to avoid damaging the mats. |
| 3. Prepare a suitable cleaning solution. | Mix lukewarm water with rubber-safe cleaner, ensuring proper dilution to protect mat integrity. |
| 4. Rinse and dry mats properly. | Use clean water to remove residues, dry with fans and towels to prevent mold growth. |
| 5. Implement a regular maintenance schedule. | Conduct regular inspections and document findings to catch issues early and maintain mat quality. |
Step 1: Assess Your Rubber Gym Mats’ Condition
Before diving into the cleaning process for your rubber gym mats, a thorough initial assessment is critical to determine the appropriate maintenance approach. Your rubber gym mats endure significant daily wear and tear, absorbing impacts, moisture, and constant foot traffic that can gradually degrade their surface and structural integrity.
Start by carefully examining the entire surface of your rubber gym mats under good lighting conditions. Look for telltale signs of wear and damage that will influence your cleaning strategy. These indicators include visible cracks, surface splits, areas of discoloration, persistent stains, lifting edges, or unusual texture changes. Such signs not only impact the mat’s appearance but can also compromise its performance and safety.
As you conduct your visual inspection, run your hands across the mat’s surface to feel for subtle irregularities. Rough patches, bubbling, or areas with uneven texture might indicate deeper issues that simple cleaning cannot resolve. Pay special attention to high traffic zones and areas near exercise equipment where repeated stress occurs. These regions often show the most significant signs of deterioration and might require more intensive cleaning or potential replacement.
Measure the overall thickness of your rubber gym mats, particularly in heavily used areas. Significant compression or thinning could signal that the mat has reached the end of its functional lifespan. According to ASTM International’s emerging guidelines for gymnasium equipment maintenance, regular thickness measurements help facility managers track mat degradation and plan timely replacements.
Documenting your findings is crucial. Take clear photographs of any damage or wear patterns, noting their specific locations. This documentation serves multiple purposes: tracking mat condition over time, supporting potential warranty claims, and guiding your cleaning and maintenance approach. By understanding your rubber gym mats’ current state, you’ll be better equipped to select the most appropriate cleaning techniques and products in the subsequent steps of this comprehensive maintenance process.
This table provides an overview of the main cleaning steps for rubber gym mats, including the goal of each step and critical details to keep in mind during the process.
| Step | Purpose/Goal | Critical Details/Reminders |
|---|---|---|
| Assess Condition | Identify damage, stains, and wear | Inspect both visually and by touch |
| Gather Cleaning Supplies | Prepare appropriate tools and safety gear | Use only rubber-safe, pH-neutral materials |
| Prepare Cleaning Solution | Ensure cleaning efficacy and safety | Use lukewarm water and follow correct dilution |
| Clean Mats Thoroughly | Remove dirt, stains, and bacteria | Avoid oversaturation and aggressive scrubbing |
| Rinse and Dry Mats | Prevent residue and mold growth | Use fresh water, dry with towels and fans |
| Inspect and Maintain Regularly | Extend mat life and assure safety | Document findings and rotate mats if possible |
Step 2: Gather Essential Cleaning Supplies
With your rubber gym mats thoroughly assessed, the next critical phase involves assembling the right cleaning arsenal to effectively restore and maintain their pristine condition. Proper preparation ensures you can execute a comprehensive cleaning process without interruption or potential damage to your valuable gym flooring.
Professional cleaning requires a strategic collection of supplies that balance thoroughness with gentle care. Start by selecting cleaning tools that are specifically designed for rubber surfaces. Your primary toolkit should include a soft-bristled brush or microfiber mop to prevent scratching the mat’s delicate surface. Avoid stiff brushes or abrasive cleaning implements that could compromise the mat’s structural integrity. A high-quality spray bottle will help you control moisture distribution, while multiple clean microfiber cloths will enable you to tackle different cleaning stages without cross-contamination.
For your cleaning solutions, choose products explicitly formulated for rubber gym flooring. Avoid harsh chemicals like bleach or ammonia, which can degrade rubber’s molecular structure and cause premature deterioration. Instead, opt for pH-neutral, rubber-safe cleaners that effectively remove dirt and bacteria without causing long-term damage. A mild, non-abrasive detergent mixed with warm water often provides the most versatile cleaning solution. According to ASTM International’s emerging guidelines for gymnasium equipment maintenance, selecting the right cleaning agent is paramount to preserving mat quality.
Complete your cleaning kit with protective gear like rubber gloves to shield your hands from cleaning solutions, and consider having disposable paper towels or additional clean cloths for drying and final surface inspection. A bucket for mixing cleaning solutions, a squeegee for water removal, and a fan for accelerated drying will round out your comprehensive cleaning toolkit.
Below is a table summarizing the essential cleaning supplies needed to effectively clean rubber gym mats, including each item’s purpose for quick reference.
| Cleaning Supply | Specification/Type | Purpose |
|---|---|---|
| Soft-bristled brush | Non-abrasive | Prevents scratching while loosening dirt |
| Microfiber mop/cloth | Lint-free | Absorbs dirt and moisture, avoids cross-contamination |
| Spray bottle | Adjustable nozzle | Controls and distributes cleaning solution evenly |
| pH-neutral rubber-safe cleaner | Mild detergent, non-abrasive | Safely removes dirt and bacteria without damage |
| Rubber gloves | Chemical-resistant | Protects hands from cleaning agents |
| Paper towels/cloths | Disposable or clean, dry | Dries surfaces and inspects for residue |
| Bucket | Clean, dedicated | Mixes and holds cleaning solution |
| Squeegee (optional) | Flexible rubber blade | Removes excess water without damaging mats |
| Fan | Portable, oscillating | Promotes rapid and even drying |
Step 3: Prepare the Cleaning Solution
Preparing the right cleaning solution represents a crucial transition between assessing your rubber gym mats and beginning the actual cleaning process. The solution you create will determine the effectiveness of your maintenance efforts and directly impact the long-term preservation of your gym flooring.
Temperature and water quality matter significantly when mixing your cleaning solution. Use lukewarm water, which helps activate mild cleaning agents without causing thermal stress to the rubber material. Select a cleaning product specifically designed for rubber surfaces, avoiding household cleaners that might contain harsh chemicals. Most professional-grade rubber mat cleaners require precise dilution ratios, so carefully measure both the water and cleaning solution to ensure optimal concentration.
Measure your cleaning solution in a clean, dedicated bucket reserved exclusively for gym mat maintenance. Avoid cross-contamination by using separate containers for different cleaning tasks. Pour the water first, then add the cleaning agent gradually while stirring to create a uniform mixture. Some professional cleaning solutions recommend a dilution ratio around 1 ounce of cleaner per gallon of water, but always refer to the specific manufacturer’s instructions for your chosen product. The goal is to create a solution strong enough to remove dirt and bacteria but gentle enough to preserve the rubber’s structural integrity.
According to ASTM International’s emerging guidelines for gymnasium equipment maintenance, the chemical composition of your cleaning solution plays a critical role in mat preservation. Before applying the solution across the entire mat surface, perform a small spot test in an inconspicuous area. This precautionary step allows you to verify that the cleaning solution does not cause discoloration, degradation, or unexpected chemical reactions with your specific rubber gym mat. Observe the test area for at least 15 minutes, checking for any signs of material changes or adverse reactions. By taking this careful approach, you ensure that your cleaning solution will effectively sanitize and restore your gym mats without causing unintended damage.
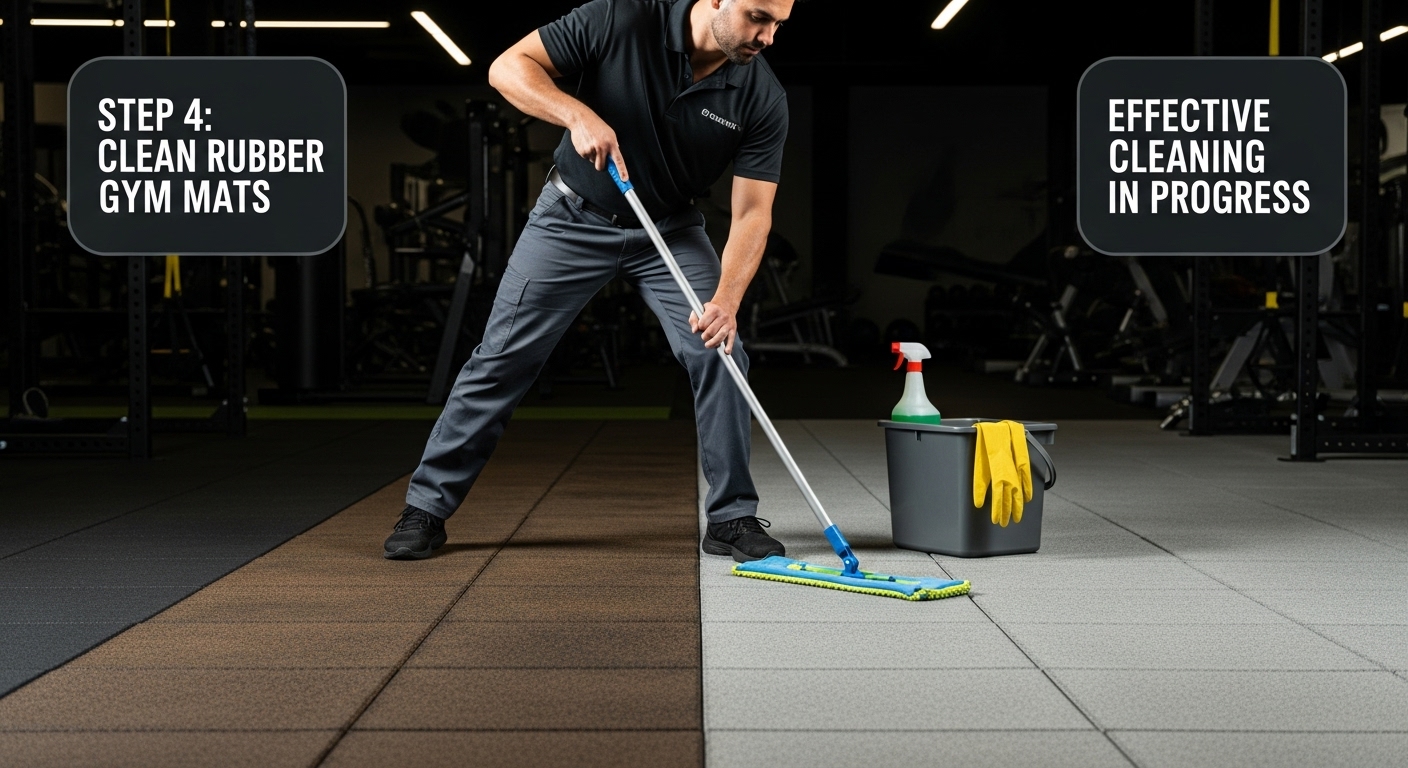
Step 4: Clean the Rubber Gym Mats Thoroughly
With your cleaning solution prepared and your supplies ready, the actual cleaning process demands precision, patience, and a systematic approach. Begin by clearing the entire area around your rubber gym mats, removing any equipment or obstacles that might impede your thorough cleaning process. This preparation ensures you can move smoothly and comprehensively across the entire mat surface.
Start at one corner of the mat and work methodically across the surface using your soft-bristled brush or microfiber mop. Apply your prepared cleaning solution sparingly, avoiding oversaturation that could compromise the mat’s structural integrity. Use gentle, sweeping motions that follow the mat’s natural texture, ensuring even coverage and preventing solution pooling. Pay extra attention to high-traffic zones and areas that show more significant dirt accumulation, such as spots near workout equipment or entry points. These regions often harbor more bacteria and require slightly more vigorous but still careful cleaning techniques.
When addressing stubborn stains or deeply embedded dirt, resist the temptation to scrub aggressively. Instead, allow your cleaning solution to sit momentarily on the affected area, giving it time to break down grime without causing surface damage. Use your microfiber cloth to gently work the solution into the mat, using circular motions that lift dirt without creating unnecessary friction. For particularly challenging spots, you might need to make a second pass, but always maintain a light touch that preserves the rubber’s structural integrity.
According to ASTM International’s emerging guidelines for gymnasium equipment maintenance, the cleaning technique is as crucial as the cleaning solution itself. After completing your initial cleaning pass, use a clean, damp microfiber cloth to remove any remaining cleaning solution. This step prevents chemical residue buildup that could attract additional dirt or cause surface degradation. Verify your cleaning’s effectiveness by checking the cloth after each wipe - a clean cloth indicates you’ve successfully removed dirt and cleaning solution. Your rubber gym mats should now appear uniformly clean, with a consistent surface texture and no visible chemical streaks or residue.
Step 5: Rinse and Dry the Mats Properly
The rinsing and drying phase represents a critical final step in your rubber gym mat maintenance process, directly impacting the mat’s longevity, hygiene, and performance. Improper rinsing can leave behind chemical residues that attract dirt, while inadequate drying creates an environment conducive to mold and bacterial growth.
Begin the rinsing process by using clean, fresh water and a separate microfiber mop or cloth dedicated solely to this purpose. Avoid using high-pressure water sources that could potentially damage the mat’s surface or force water underneath its edges. Instead, work methodically across the entire mat surface, using gentle, sweeping motions to remove any remaining cleaning solution. Your goal is to create a light, even moisture layer that can be quickly and thoroughly dried. Pay special attention to areas around edges and seams, where cleaning solution and moisture tend to accumulate more readily.
Drying requires equal precision and patience. Position multiple fans around the mat to promote rapid, uniform air circulation. If possible, slightly elevate the mat to allow air to circulate underneath, which accelerates the drying process and prevents moisture from becoming trapped. Use clean, absorbent towels to remove excess surface moisture, working from the center outward to prevent water pooling. The entire drying process should occur in a well-ventilated area with consistent air movement, ideally at room temperature. Avoid direct sunlight or extreme heat, which can cause rubber materials to degrade or become brittle.
According to ASTM International’s emerging guidelines for gymnasium equipment maintenance, proper drying is as crucial as the cleaning process itself. Verify the mat’s readiness by touching its surface and checking for any remaining dampness. A completely dry mat should feel uniform in texture, with no cold or damp spots.
Listen for any squeaking or detect any unusual odors that might indicate incomplete drying. Your rubber gym mats are now clean, sanitized, and prepared to withstand the rigorous demands of intensive workout environments, ensuring both aesthetic appeal and long-term durability.
Step 6: Inspect and Maintain for Long-Term Care
Long-term care of rubber gym mats extends far beyond the immediate cleaning process, requiring a proactive and systematic approach to preservation. Regular inspection becomes your primary defense against premature wear and potential safety hazards. Develop a consistent maintenance schedule that allows you to assess your mats thoroughly, catching potential issues before they escalate into costly replacements.
Establish a comprehensive visual and tactile inspection routine that goes beyond surface-level examination. Run your hands across the entire mat surface, feeling for subtle changes in texture, looking for emerging cracks, lifting edges, or areas of unusual wear. Pay special attention to high-traffic zones and locations near heavy exercise equipment, where stress concentrates most intensely. Document your findings systematically, taking dated photographs that allow you to track changes over time. This visual record becomes an invaluable tool for understanding your mat’s deterioration patterns and planning future maintenance strategies.
Implement a preventative maintenance protocol that addresses potential issues before they become significant problems. Consider using protective mats in high-wear areas, rotating mat positions to distribute wear more evenly, and creating designated cleaning and inspection intervals. Rotate your mats quarterly if possible, which helps distribute wear and extends overall mat lifespan. Address minor imperfections immediately by using manufacturer-recommended repair kits or consulting professional maintenance services for more complex issues. Keep a maintenance log that tracks cleaning dates, inspection findings, and any repairs performed, creating a comprehensive history of your mat’s care.
According to ASTM International’s emerging guidelines for gymnasium equipment maintenance, consistent documentation and proactive maintenance are key to maximizing equipment longevity. Your final verification involves a comprehensive assessment: mats should remain flat without curling edges, maintain consistent color and texture, show no signs of cracking or separation, and feel firm yet slightly resilient when walked upon. By treating your rubber gym mats as a critical investment requiring ongoing attention, you’ll ensure they continue performing optimally, maintaining safety standards, and providing the reliable surface your fitness environment demands.
Keep Your Gym Mats Pristine and Safe with Mats4U Solutions
After learning how deep cleaning and regular inspections prevent rubber gym mats from deteriorating, you might worry about lingering stains, worn edges, or safety risks that even the most dedicated maintenance cannot solve. Consistent use and demanding conditions can push older mats past their limits, threatening both hygiene and workplace safety. Your commitment to cleanliness deserves products that can keep up—no matter how intense the traffic or challenging the environment.
Discover resilience with our premium Rubber Gym Mats and explore versatile options like Anti-Fatigue Mats to upgrade those risky, high-wear areas today. Refresh your facility with floor mats made in the USA, competitively priced, and delivered free when you meet the minimum. From custom branding to heavy-duty durability, Mats4U.com helps you build a gym that always looks and performs at its best. Shop now and secure cleaner, safer flooring for the future.
Frequently Asked Questions
How often should I clean my rubber gym mats?
It’s recommended to clean your rubber gym mats every 1-2 weeks, depending on usage. Regular cleaning prevents dirt buildup and maintains hygiene.
What cleaning solutions are safe for rubber gym mats?
Use pH-neutral, rubber-safe cleaners to avoid damaging the material. Mild, non-abrasive detergents mixed with warm water are effective and safe options.
How do I know if my rubber gym mats need replacing?
Inspect for signs like cracks, significant compression, discoloration, or uneven texture. If mats are worn down to less than half their original thickness, it may be time to replace them.
Can I use bleach or ammonia to clean my rubber gym mats?
No, avoid using bleach or ammonia as these harsh chemicals can degrade the rubber and reduce its lifespan.
Recommended
- The Ultimate Guide to Cleaning Rubber Flooring for Longevity and Safet – Mats4U USA
- A Practical Guide to Rubber Flooring Rolls – Mats4U USA
- How to Choose the Best Gym Matting – Mats4U USA
- Your Practical Guide to Selecting the Best Rubber Anti Fatigue Mat – Mats4U USA
- How to Clean Hot Tub Cover: Easy Step-by-Step Guide - ClearSpa™
- Five Simple Steps on How to Clean Basement Fast


