


Every year, slips and falls cost American businesses over $11 billion in lost productivity and claims. Wet floors in high-traffic areas create persistent challenges for facility managers who need to maintain both safety and cleanliness. Understanding what makes a doormat effective in damp environments can transform a hazardous space into a reliable first line of defense against injuries and mess. This guide sheds light on practical steps for evaluating needs, choosing the right mats, and keeping your workplace safe day after day.
Table of Contents
- Step 1: Assess Wet Area Requirements
- Step 2: Select Suitable Door Mats for Wet Areas
- Step 3: Prepare the Installation Surface
- Step 4: Install Mats for Maximum Effectiveness
- Step 5: Inspect and Maintain Door Mats Regularly
Quick Summary
| Key Takeaway | Explanation |
|---|---|
| 1. Assess Wet Area Conditions Thoroughly | Evaluate traffic, moisture, and contaminants to choose effective mats. Accurate assessment is essential for safety. |
| 2. Select Anti-Slip Mat Materials | Choose mats made of water-resistant materials with anti-slip features to reduce slip hazards in wet areas. |
| 3. Prepare Installation Surface Properly | Ensure the installation area is clean and stable to maximize mat performance and prevent accidents. |
| 4. Install Mats Carefully for Safety | Position mats accurately and secure edges to minimize slip and fall risks in high moisture areas. |
| 5. Conduct Regular Inspections and Maintenance | Regularly check mat conditions and perform needed maintenance to ensure ongoing safety and effectiveness. |
Step 1: Assess Wet Area Requirements
Facility managers must conduct a comprehensive evaluation of their wet area spaces to determine the most appropriate mat solution. Understanding the specific environmental conditions will help select floor mats that provide maximum safety and functionality. Determining mat requirements involves analyzing several critical factors that impact slip prevention and surface protection.
Start by thoroughly examining each wet area within your facility. Look for high traffic zones such as entryways, kitchen areas, bathrooms, and industrial spaces where water accumulation is common. Measure the dimensions of these spaces precisely and note surface materials like tile, concrete, or hardwood. Consider factors including water volume, foot traffic intensity, and potential contaminants like grease or cleaning solutions that might create additional slipping hazards. Pay special attention to areas with frequent moisture exposure where standard floor surfaces become particularly dangerous.
Document your findings systematically by creating a detailed wet area assessment chart. Note specific environmental conditions like temperature fluctuations, potential chemical exposures, and typical moisture levels. This documentation will guide your mat selection process and ensure you choose products with appropriate thickness, material composition, and drainage capabilities.
Pro tip: Conduct your wet area assessment during different times of day and under various weather conditions to capture a comprehensive understanding of potential moisture challenges.
Step 2: Select Suitable Door Mats for Wet Areas
Choosing the right door mats for wet areas requires careful consideration of multiple safety and performance factors. After completing your wet area assessment, you are now ready to select mats that will effectively manage moisture and prevent slip hazards. Selecting non slip floor mats involves evaluating several critical characteristics that ensure optimal facility safety.
Focus on mat materials specifically designed for high moisture environments. Look for mats constructed with water resistant synthetic fibers or rubber compounds that provide superior drainage and quick drying capabilities. Consider mats with textured surfaces featuring raised patterns or grooves that channel water away and create additional traction. Prioritize options with reinforced edges to prevent curling and tripping risks, and choose materials that can withstand heavy foot traffic and frequent cleaning. Assess thickness and weight carefully to ensure the mats remain stable and do not shift during use.
Pay close attention to specific performance specifications like water absorption rates, slip resistance ratings, and durability under various environmental conditions. Some mats offer antimicrobial treatments that help prevent mold and bacterial growth in consistently wet spaces. Select mats with color contrast or safety markings that can help visually highlight potentially slippery zones and improve overall facility safety awareness.
Here’s a summary of key mat selection criteria and their business impacts:
| Selection Criteria | Description | Business Impact |
|---|---|---|
| Material Type | Rubber, vinyl, or synthetic fiber | Affects durability and safety |
| Surface Texture | Raised, grooved, or patterned surfaces | Improves water drainage & traction |
| Thickness & Weight | Heavier, stable mats | Reduces mat movement risk |
| Chemical & Moisture Resistance | Withstands chemicals, frequent wetness | Prevents premature mat failure |
| Visual Safety Indicators | Color contrast, safety markings | Highlights slip hazard areas |
Pro tip: Always request product samples and conduct onsite testing to verify mat performance before making a full facility investment.
Step 3: Prepare the Installation Surface
Preparing the installation surface is a critical step in ensuring your door mat provides optimal safety and performance in wet areas. Before placing any mat, you must thoroughly evaluate and prepare the underlying surface to create a stable and secure foundation. Surface preparation techniques are essential for preventing potential installation failures and long term performance issues.
Begin by conducting a comprehensive surface inspection. Clean the area completely, removing all dirt, debris, and potential contaminants that could interfere with mat adhesion. Check the surface for evenness and structural integrity. Uneven surfaces can create potential tripping hazards or prevent the mat from laying flat. If you discover any significant surface irregularities like cracks, significant dips, or uneven areas, you may need to use leveling compounds or repair the surface before mat installation.
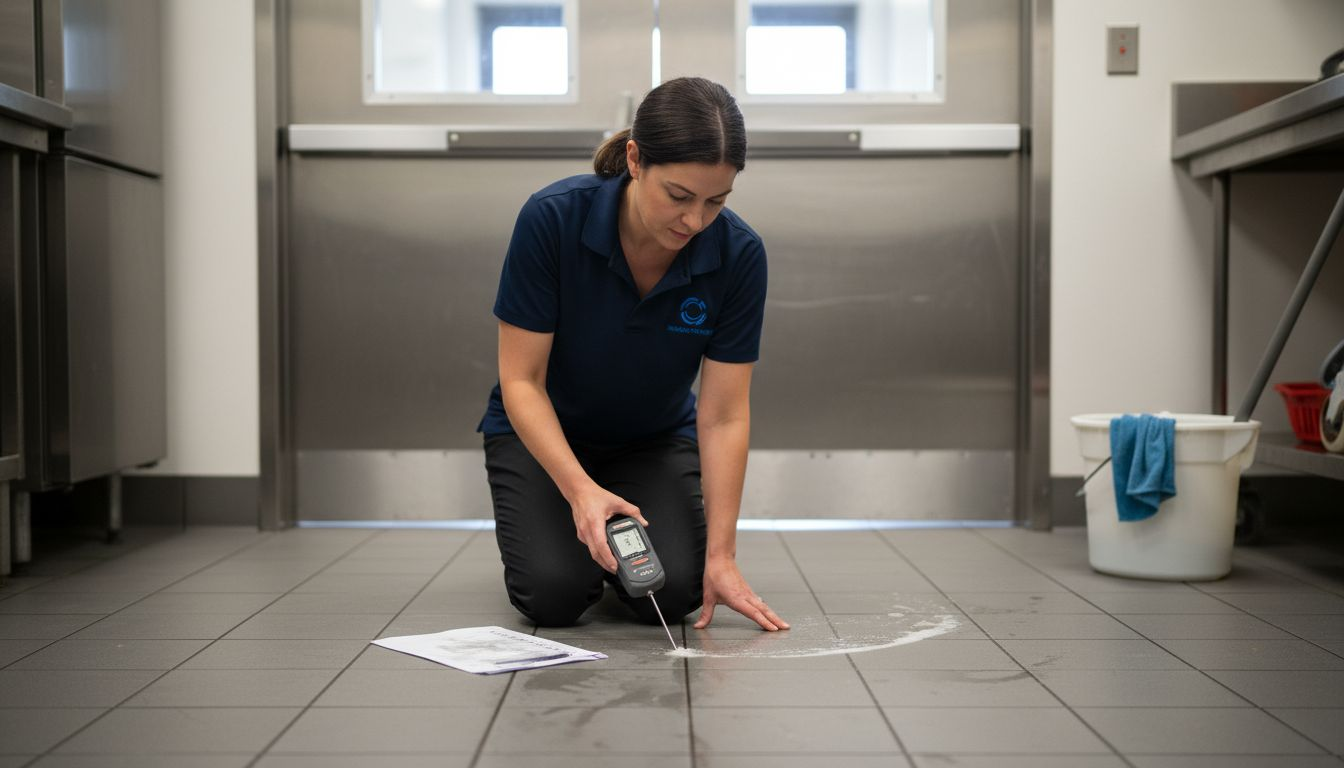
Address moisture concerns thoroughly before installation. Use moisture meters to verify that the surface meets recommended humidity levels. In wet areas, excess moisture can compromise mat adhesion and potentially lead to mold growth. Ensure proper ventilation and consider using moisture barriers or sealants if necessary. Allow sufficient time for the surface to dry completely and stabilize before proceeding with mat placement.
Pro tip: Take precise measurements of your installation area and create a detailed surface condition report before purchasing your mat to ensure perfect fit and performance.
Step 4: Install Mats for Maximum Effectiveness
Successful mat installation requires precision and careful attention to detail to ensure optimal safety and performance in wet areas. The final placement of your mat will directly impact its ability to manage moisture and prevent slip hazards. Floor safety mat installation techniques play a critical role in maximizing the protective capabilities of your chosen mat.
Begin by positioning the mat precisely in the identified high moisture zone. Ensure the mat covers the entire critical surface area without leaving exposed slippery sections. Align the mat edges flush against the floor surface, using adhesive strips or mounting solutions appropriate to your specific floor type. Press firmly along all edges to create a secure bond that prevents curling or shifting. For areas with significant foot traffic, consider using additional anchoring mechanisms like edge grippers or specialized adhesives that provide extra stability.
Verify the mat alignment from multiple angles to confirm complete surface coverage. Check that the mat lies completely flat without any raised edges or potential tripping points. Pay special attention to transitions between the mat and surrounding flooring surfaces. Ensure there are no gaps or uneven sections that could compromise safety. Test the mat stability by walking across it with moderate pressure to confirm it remains securely positioned and does not slide or bunch up during use.
Pro tip: Conduct a quick weekly inspection of mat placement and adhesion to catch any potential loosening or wear before it becomes a safety risk.
Step 5: Inspect and Maintain Door Mats Regularly
Consistent inspection and maintenance are crucial for ensuring the ongoing safety and effectiveness of your door mats in wet areas. Regular evaluations help identify potential hazards before they become serious safety risks. Walking surface maintenance requirements mandate systematic documentation and immediate correction of any mat related safety issues.
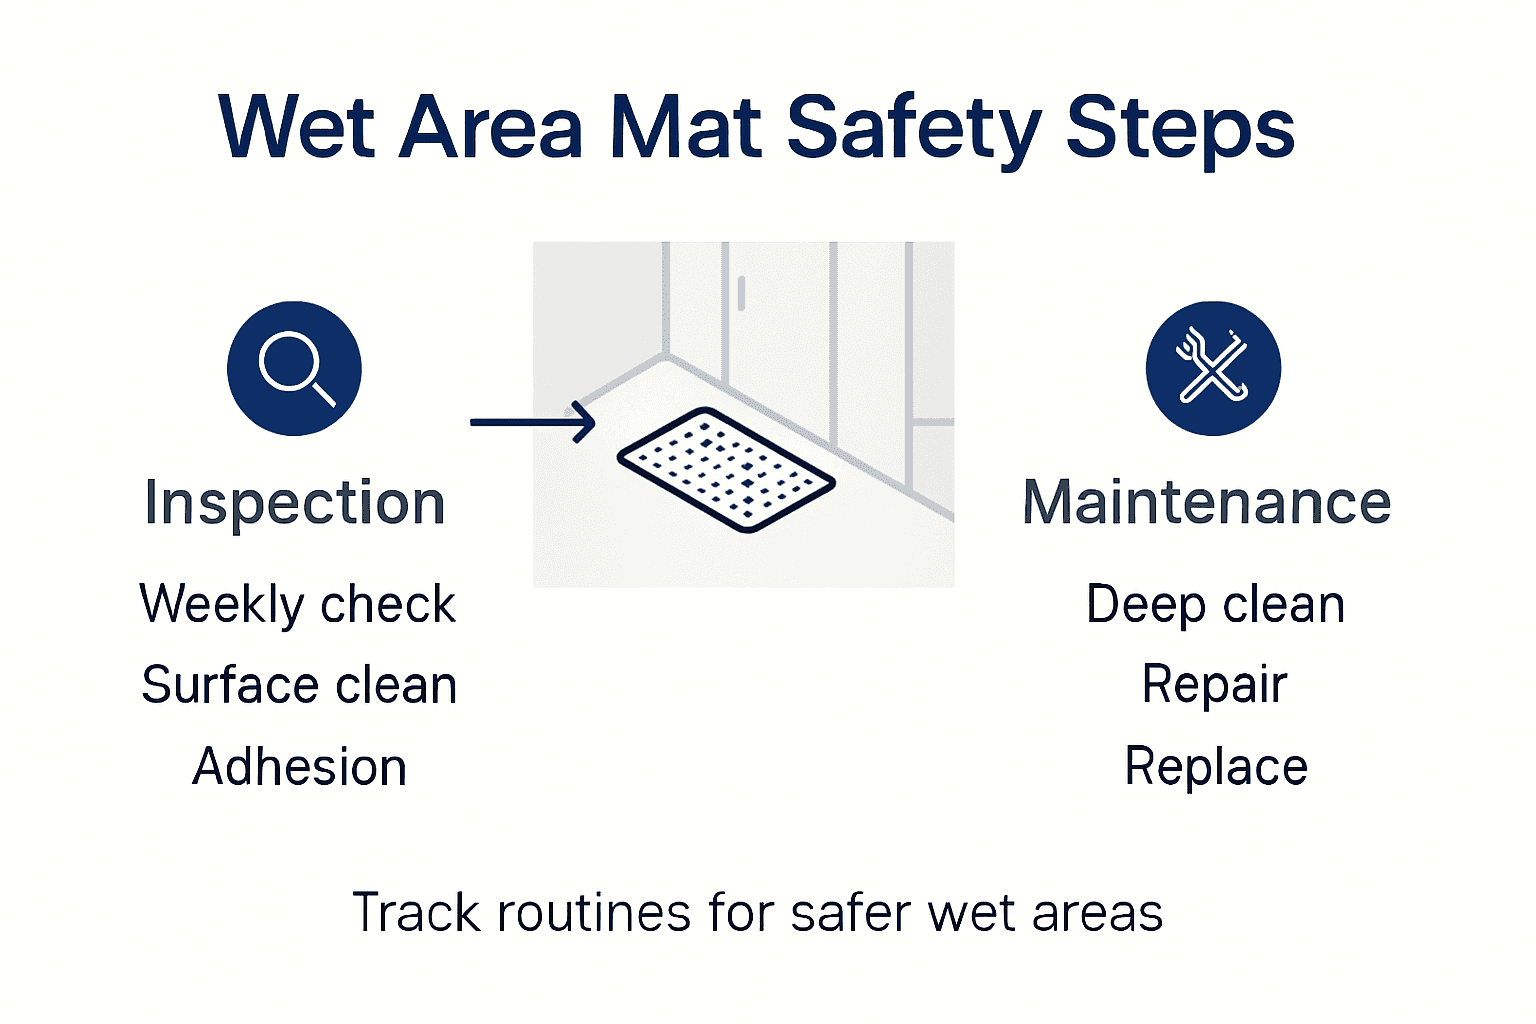
Establish a structured inspection routine that includes weekly visual assessments and monthly comprehensive evaluations. During visual checks, look for signs of wear such as fraying edges, surface deterioration, reduced traction, or areas where adhesive might be failing. Check for moisture retention, color changes that might indicate mold growth, and any visible damage that could compromise mat performance. Measure mat thickness and compare it against original specifications to track potential degradation.
Develop a formal maintenance protocol that addresses cleaning, repair, and potential replacement strategies. Document each inspection with detailed notes recording date, condition, and any actions taken. Remove and replace mats that show significant wear or cannot effectively manage moisture. Clean mats using appropriate techniques for their specific material composition, ensuring you do not compromise their slip resistant properties during the cleaning process.
Pro tip: Create a digital tracking system to log mat inspections and maintenance activities for consistent safety documentation.
The following table compares best practices for mat placement and ongoing maintenance:
| Practice Type | Key Actions | Outcome for Wet Areas |
|---|---|---|
| Installation | Full floor coverage, secure edges, testing | Minimizes slippage and tripping |
| Inspection | Weekly placement and edge checks | Early detection of hazards |
| Maintenance | Routine cleaning and timely replacement | Sustains mat performance & safety |
| Documentation | Digital logs of condition and repairs | Ensures regulatory compliance |
Enhance Wet Area Safety with Expertly Designed Floor Mats
Managing moisture and preventing slips in wet areas is a critical challenge for facility managers. This article highlights the importance of assessing your wet zones and selecting mats with the right materials, slip resistance, and durability to protect your workforce and visitors. You deserve a mat solution that stays firmly in place, drains effectively, and meets your facility’s rigorous demands.
At Mats4U.com, we offer a wide selection of premium Commercial Mats designed specifically for safety and longevity in environments with high moisture. You can also explore our Non Slip category to find mats engineered to reduce slip hazards in critical areas. With competitive pricing, free delivery on orders over $100, and durable products made in the USA, Mats4U.com is your trusted partner for safe, reliable floor mat solutions.
Don’t wait for accidents to happen. Visit Mats4U.com today to browse mats tailored for wet area safety and take the next step in protecting your facility. Your floors deserve the best defense against slips and falls.
Frequently Asked Questions
How do I assess the requirements for door mats in wet areas?
To assess requirements for door mats in wet areas, evaluate each space for factors like foot traffic, moisture levels, and surface materials. Document your findings systematically to guide your mat selection and ensure optimal safety.
What key factors should I consider when selecting door mats for wet areas?
Focus on materials designed for high moisture environments, such as water-resistant synthetic fibers or rubber compounds. Choose mats with textured surfaces for better traction and ensure they have reinforced edges to prevent curling that could lead to tripping hazards.
How can I prepare the installation surface for door mats?
To prepare the installation surface, clean the area thoroughly and check for any structural irregularities. Use moisture meters to verify acceptable humidity levels and consider applying moisture barriers if there are concerns about dampness.
What steps are involved in the installation of door mats?
Begin by positioning the mat to cover the entire wet area without exposing any slippery sections. Use appropriate adhesive solutions to secure the mat edges and ensure it lays flat, checking for stability to prevent any movement during use.
How often should I inspect and maintain my door mats in wet areas?
Establish a weekly inspection routine to check for wear, moisture retention, and stability of the mats. Perform comprehensive evaluations monthly, documenting any conditions that could impact mat performance and taking necessary actions like cleaning or replacement.
What are the benefits of installing door mats in wet areas?
Installing door mats in wet areas significantly reduces slip hazards by managing moisture effectively. By choosing the right mats and maintaining them well, you can enhance safety and protect your flooring from water damage.
Recommended
- Understanding Mats for Wet Areas: Importance and Functionality – Mats4U USA
- How to Choose and Install a Door Mat for Wet Area – Mats4U USA
- Understanding Non Slip Floor Mats for Wet Areas – Mats4U USA
- Understanding Anti Slip Mats for Wet Areas: Safety Matters – Mats4U USA
- KT Constructions—Expert Microcement Bathroom Flooring.
- Understanding Hard Floor versus Carpet Care for Homes - Yarra Valley Carpet Cleaning


