


Waterhog mats are famous for their tough fibers and impressive ability to trap dirt and water. In fact, a properly cleaned Waterhog mat can hold up to 1.5 gallons of water per square yard. Most people assume these mats are nearly maintenance-free because of their durable look. The real trick is that the way you clean them directly impacts how long they last and how well they perform—and small mistakes can actually ruin the mat’s unique features.
Table of Contents
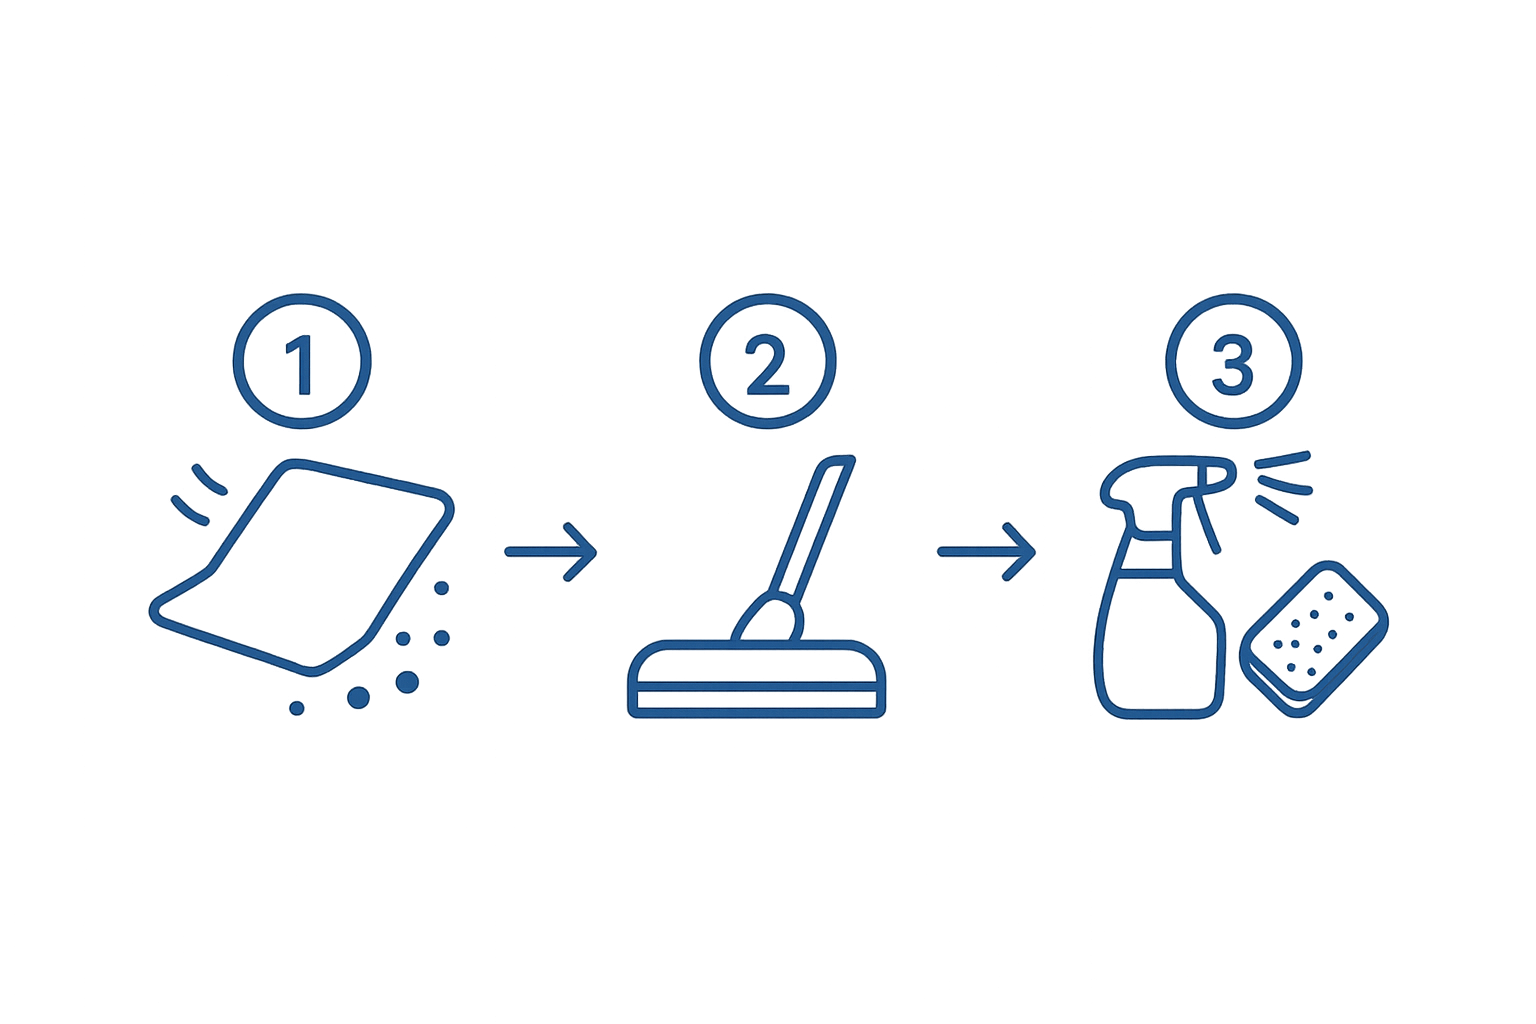
- Step 1: Gather Your Cleaning Supplies
- Step 2: Remove the Mat and Shake Off Debris
- Step 3: Vacuum the Mat Thoroughly
- Step 4: Apply Eco-Friendly Cleaner to Stains
- Step 5: Scrub and Rinse the Mat
- Step 6: Allow the Mat to Dry Completely
Quick Summary
| Key Point | Explanation |
|---|---|
| 1. Gather All Cleaning Supplies First | Assemble mild detergent, vinegar, brush, cloths, and warm water to ensure efficient cleaning without interruptions. |
| 2. Shake Off Debris Before Cleaning | Removing loose dirt by shaking the mat prevents it from re-entering and improves the overall cleaning effectiveness. |
| 3. Vacuum Thoroughly for Best Results | Use a soft brush attachment to extract embedded dirt, ensuring the mat looks clean and maintenance-ready. |
| 4. Treat Stains with Eco-Friendly Solutions | Apply a targeted, mild solution to specific stains to preserve the mat’s fibers while effectively removing marks. |
| 5. Allow Complete Drying After Cleaning | Ensure the mat is fully dry to prevent mold and maintain its performance, checking for damp spots regularly. |
Step 1: Gather Your Cleaning Supplies
Cleaning a Waterhog mat effectively starts with assembling the right tools and supplies. Proper preparation ensures you can tackle dirt, stains, and grime efficiently while protecting the mat’s specialized design and performance characteristics. Gathering your cleaning arsenal beforehand saves time and prevents interruptions during the cleaning process.
For a comprehensive Waterhog mat cleaning, you will need several essential supplies. Your cleaning kit should include mild liquid detergent, white vinegar, soft bristle brush, clean microfiber cloths, and warm water. Avoid harsh chemicals or bleach that could damage the mat’s unique fiber structure and water-trapping capabilities. A bucket for mixing cleaning solutions and access to a water source will also be crucial for thorough cleaning.
Careful selection of cleaning tools makes a significant difference in maintaining your Waterhog mat’s integrity. Select a soft bristle brush with flexible yet sturdy bristles that can penetrate the mat’s dense surface without causing damage. Microfiber cloths are ideal for gentle wiping and absorbing excess moisture. Pro tip: Choose cloths in different colors to distinguish between those used for initial cleaning and those for final drying to prevent cross-contamination.
Before beginning the cleaning process, inspect your cleaning supplies to ensure everything is clean and in good condition. Dirty brushes or cloths can reintroduce grime onto the mat, defeating the purpose of your cleaning efforts. By methodically gathering and preparing your supplies, you set the stage for a successful and efficient Waterhog mat cleaning session.
Quick Supplies Checklist:
- Mild liquid detergent
- White vinegar
- Soft bristle brush
- Microfiber cloths
- Bucket
- Warm water
Step 2: Remove the Mat and Shake Off Debris
Removing a Waterhog mat and clearing away loose debris is a critical initial step in the thorough cleaning process. This stage prepares your mat for deeper cleaning by eliminating surface-level dirt, dust, and particulate matter that can accumulate over time. Proper removal and initial debris management will significantly improve the subsequent cleaning effectiveness.
Begin by carefully lifting the Waterhog mat from its installed location. Lift with caution to avoid sudden movements that might scatter trapped dirt or potentially damage the mat’s backing. If the mat is heavy or located in a high-traffic area, consider asking someone to help you or use proper lifting techniques to prevent strain. For larger mats or commercial installations, you might need to roll or fold the mat carefully to facilitate easier handling and transportation to a cleaning area.
Once removed, take the mat to an outdoor space or an area where shaking debris will not create additional mess. Shake the mat vigorously but controlled, holding it from one end and using a swift up and down motion. This technique helps dislodge embedded dirt, dust, and small particles trapped within the mat’s dense fibers. For maximum effectiveness, shake the mat from multiple angles to ensure comprehensive debris removal. If you are cleaning multiple mats, work in a systematic manner to maintain efficiency.
Verify the effectiveness of your debris removal by examining the ground where you shook the mat. A significant amount of dirt or dust falling indicates successful initial cleaning. For mats in extremely dirty environments or those with extensive debris, you might need to repeat the shaking process or use additional methods like gentle beating or controlled brushing to remove stubborn particles.
Quick Debris Removal Verification:
- Ground shows visible fallen dirt and dust
- Mat appears lighter in color after shaking
- No large particles remain visibly embedded in mat fibers
Step 3: Vacuum the Mat Thoroughly
Vacuuming a Waterhog mat is a crucial step in the deep cleaning process that removes embedded dirt, dust, and microscopic particles missed during the initial shaking. This method ensures that loose debris trapped within the mat’s dense fibers are efficiently extracted before applying any liquid cleaning solutions. Proper vacuuming prepares the mat for more intensive cleaning and helps maintain its long-term performance and appearance.
Select the right vacuum attachment for your Waterhog mat. A vacuum with a soft brush attachment works best, as it can gently penetrate the mat’s unique textured surface without causing damage. Avoid using attachments with stiff bristles or sharp edges that might snag or tear the mat’s specialized fibers. If you have a standard vacuum without specialized attachments, use the main floor nozzle with minimal pressure, ensuring smooth and controlled movement across the mat’s surface.
Begin vacuuming systematically by moving the vacuum in multiple directions. Start with horizontal passes across the mat, then follow with vertical passes to ensure comprehensive dirt removal. Pro tip: Use overlapping strokes to guarantee no area is missed. Apply gentle, consistent pressure without pressing too hard, which could potentially damage the mat’s intricate fiber structure. For commercial or heavily soiled Waterhog mats, you might need to make multiple passes, rotating the mat 90 degrees between each set of passes to capture dirt from different angles.
Pay special attention to corners and edges where dirt tends to accumulate. Use the vacuum’s crevice tool or carefully maneuver the brush attachment to reach these often-overlooked areas. After completing the vacuuming process, take a moment to inspect the mat’s surface. A thoroughly vacuumed Waterhog mat should appear lighter in color and feel less dense, indicating successful dirt and debris removal.
Quick Vacuuming Verification:
- Mat surface looks cleaner and brighter
- No visible loose dirt or debris remains
- Vacuum bag or canister shows collected particles
Step 4: Apply Eco-Friendly Cleaner to Stains
Addressing stains on a Waterhog mat requires a strategic and gentle approach that preserves the mat’s specialized fibers while effectively removing tough marks. Eco-friendly cleaning solutions offer an optimal balance between cleaning power and material preservation, ensuring your mat remains in top condition without introducing harsh chemicals that could compromise its performance.
Begin by identifying the specific type of stain you are treating. Different stains require slightly varied approaches. For organic stains like mud, coffee, or food spills, prepare a mild solution of white vinegar and warm water. Mix one part white vinegar with three parts water in a clean spray bottle. This natural solution cuts through most organic stains without damaging the mat’s intricate fiber structure. For more stubborn stains, you might add a small amount of gentle liquid detergent to enhance cleaning effectiveness.
Application technique is crucial when treating Waterhog mat stains. Instead of saturating the entire area, target the specific stained section using a clean microfiber cloth. Lightly spray your eco-friendly solution directly onto the cloth rather than the mat, which prevents oversaturation. Gently blot the stained area using a dabbing motion, working from the stain’s outer edges toward the center. This method prevents the stain from spreading and minimizes potential damage to the mat’s fibers. Avoid aggressive rubbing, which can push the stain deeper into the mat or cause fiber damage.
After treating the stain, allow the area to sit for a few minutes, giving the cleaning solution time to break down the dirt particles. Use a clean, dry microfiber cloth to absorb excess moisture, pressing gently to lift the cleaning solution and any remaining stain residue. Repeat the process if the stain is not completely removed, but be patient and avoid over-cleaning, which could potentially damage the mat’s specialized surface.
Quick Stain Treatment Verification:
- Stain appears significantly lighter or completely removed
- No visible residue from cleaning solution
- Mat fibers remain intact and undamaged
Step 5: Scrub and Rinse the Mat
Scrubbing and rinsing a Waterhog mat is a critical stage in the deep cleaning process that removes ground-in dirt and restores the mat’s original appearance and performance capabilities. This step requires careful technique to prevent damage while ensuring thorough cleaning of the mat’s specialized fiber system.
Select a soft bristle brush with flexible yet firm bristles that can penetrate the mat’s dense surface without causing fiber damage. Begin by applying a gentle cleaning solution across the mat’s surface, working in small sections to maintain control and ensure comprehensive coverage. Move the brush in systematic circular motions, applying consistent but moderate pressure. Pro tip: Rotate the brush and change your scrubbing angle periodically to lift dirt from multiple fiber directions. This approach helps dislodge particles trapped deep within the mat’s unique textured surface.
Rinsing requires careful attention to prevent oversaturation of the Waterhog mat. Use lukewarm water and a gentle spray or low-pressure hose attachment to remove cleaning solution and lifted dirt. Avoid high-pressure streams that might damage the mat’s intricate fiber structure. Work methodically, ensuring you rinse thoroughly from one end to the other, watching the water run clear as an indication that all cleaning solution and dirt have been removed. For indoor or limited-space cleaning, use multiple clean, damp microfiber cloths to wipe away cleaning solution, replacing them as they become soiled.
Once rinsing is complete, carefully inspect the mat’s surface. The mat should appear clean, with no visible dirt or soap residue. Pay special attention to corners and edges where grime can accumulate. If any areas require additional attention, repeat the gentle scrubbing and rinsing process. The goal is a clean mat that maintains its original texture and water-trapping capabilities without compromising its structural integrity.
Quick Cleaning Verification:
- Water runs clear during rinsing
- No visible dirt or soap residue remains
- Mat fibers appear clean and undamaged
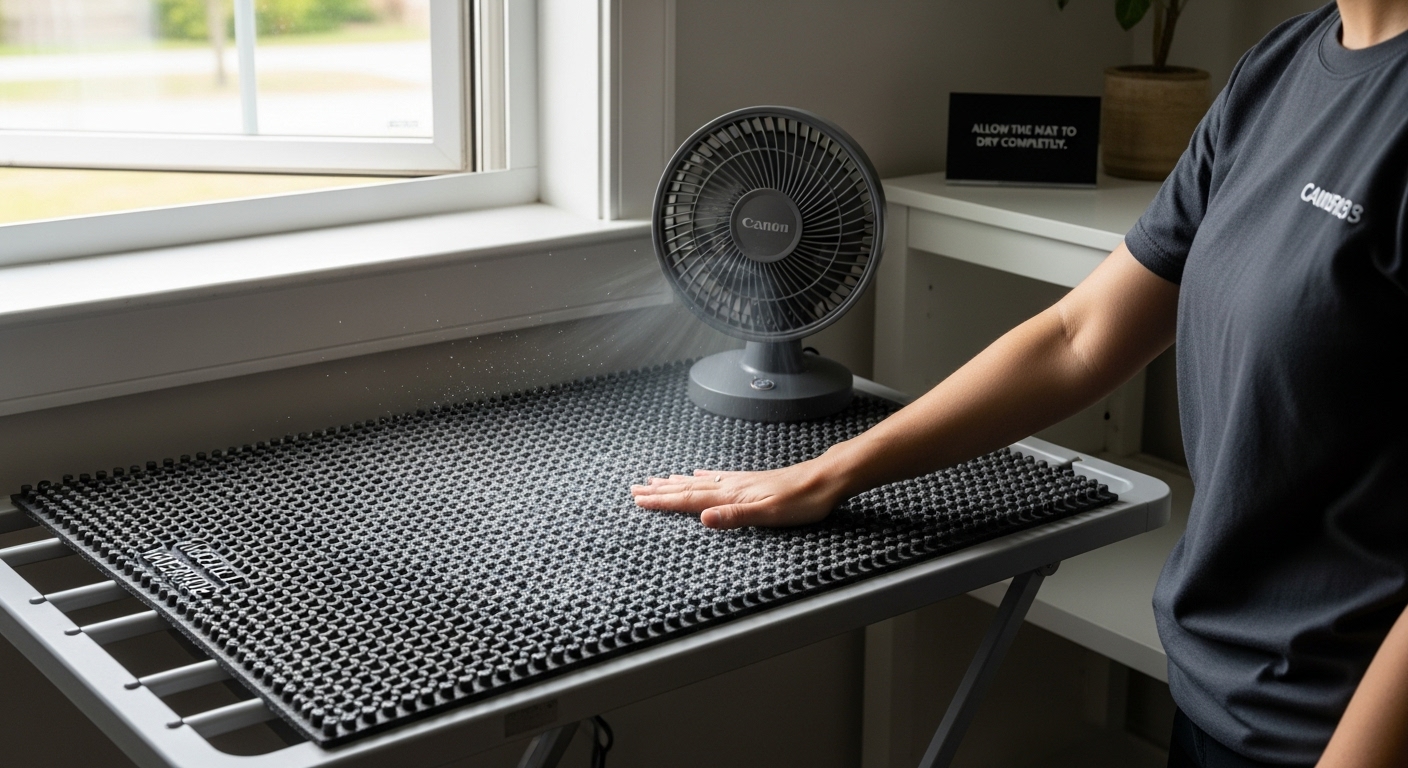
Step 6: Allow the Mat to Dry Completely
Drying a Waterhog mat thoroughly is a critical final step in the cleaning process that prevents potential mold growth, maintains the mat’s structural integrity, and ensures its continued high-performance capabilities. Improper drying can compromise the mat’s unique water-trapping design and potentially lead to unpleasant odors or bacterial development.
Select an optimal drying location that provides good air circulation and consistent ambient temperature. Choose a well-ventilated area away from direct sunlight, which can cause fiber damage or color fading. If possible, position the mat in a space with moderate air movement, such as near an open window or in a room with ceiling fans. Avoid compact, humid spaces that could impede the drying process and create conditions conducive to mold and mildew growth. For faster drying, consider using a portable fan positioned to provide gentle, consistent airflow across the mat’s entire surface.
Position the Waterhog mat flat during the drying process to maintain its original shape and prevent potential warping. If indoor drying is challenging, an outdoor area with indirect sunlight can be effective. Pro tip: Elevate the mat slightly using a clean, dry rack or several clean towels to allow air circulation underneath. This approach accelerates drying and prevents moisture from becoming trapped between the mat and the surface. Check the mat periodically, rotating it to ensure even drying and preventing potential moisture pockets from forming in less exposed areas.
Verify the mat’s complete dryness by touching multiple areas, paying special attention to thicker sections and corners where moisture might linger. The mat should feel completely dry to the touch, with no dampness or cool sensations indicating remaining moisture.
Below is a checklist table summarizing how to verify each stage of the Waterhog mat cleaning process, making it easy to ensure every step is complete and effective.
| Stage | What to Check For | Verification Sign |
|---|---|---|
| Shake Off Debris | Mat appears lighter and ground shows fallen dirt | No large particles |
| Vacuum the Mat | Surface looks cleaner, brighter, and less dense | No visible debris |
| Treat Stains | Stains are lighter or gone; fibers undamaged | No residue |
| Scrub and Rinse | No visible dirt or soap; water runs clear | Clean fibers |
| Allow to Dry | Mat feels dry everywhere; keeps original shape | No damp spots |
 Depending on humidity levels and air circulation, drying can take between 4 to 24 hours. Patience during this stage is crucial to maintaining the mat’s performance and preventing potential damage.
Quick Drying Verification:
- Mat feels completely dry across all areas
- No cool or damp spots detected
- Mat maintains its original shape and texture
Keep Your Waterhog Mats Cleaner for Longer with Mats4U
You put a lot of effort into caring for your Waterhog mat by following each step in this cleaning guide. However, even the best maintenance cannot restore performance if your mat is too worn or simply not up to the challenges of heavy foot traffic. Surface stains, lingering odors, or fibers that no longer trap dirt can make even a freshly cleaned mat feel like it is letting you down. For businesses, this means floors that are less protected and first impressions that may suffer. When cleaning alone is not enough, it is time to consider a replacement with the durability and advanced features your environment demands.
At Mats4U.com, you will find premium Waterhog mats engineered to deliver long-lasting results, even in the busiest commercial spaces. Explore our selection of Waterhog Mats for updated options that work harder to protect your floors and maintain a pristine look. Need a mat tailored for your business or looking for solutions beyond Waterhog designs? Discover our industry-leading custom mat solutions and enjoy benefits like competitive pricing and fast delivery. Do not wait until visible wear drags down your facility’s image. Visit Mats4U.com today and upgrade your entryway with confidence.
Frequently Asked Questions
How often should I clean my Waterhog mat?
It is recommended to clean your Waterhog mat regularly, depending on usage. For high-traffic areas, consider cleaning it every few weeks, while less frequently used mats can be cleaned every few months.
Can I use bleach or harsh chemicals on my Waterhog mat?
No, avoid using bleach or harsh chemicals as they can damage the mat’s specialized fiber structure and water-trapping capabilities. Stick to mild liquid detergents and eco-friendly cleaning solutions.
What should I do if my Waterhog mat has stubborn stains?
For stubborn stains, create a solution of white vinegar and warm water, applying it to the stained area with a microfiber cloth. Gently blot the stain and allow the solution to sit before absorbing excess moisture.
How can I ensure my Waterhog mat dries completely after cleaning?
To ensure complete drying, place the mat in a well-ventilated area with good air circulation, avoiding direct sunlight. Periodically check for moisture by touching various areas of the mat during the drying process.


