


Managing high-traffic floors means all-weather mats collect serious dirt and debris in busy American facilities. Choosing the right cleaning method protects your investment and preserves a professional appearance. By using specialized cleaning products instead of household cleansers, as recommended by Consumer Reports, you safeguard mat surfaces while keeping spaces safe and hygienic. This guide breaks down practical steps to help facility managers maintain top standards with every cleaning round.
Table of Contents
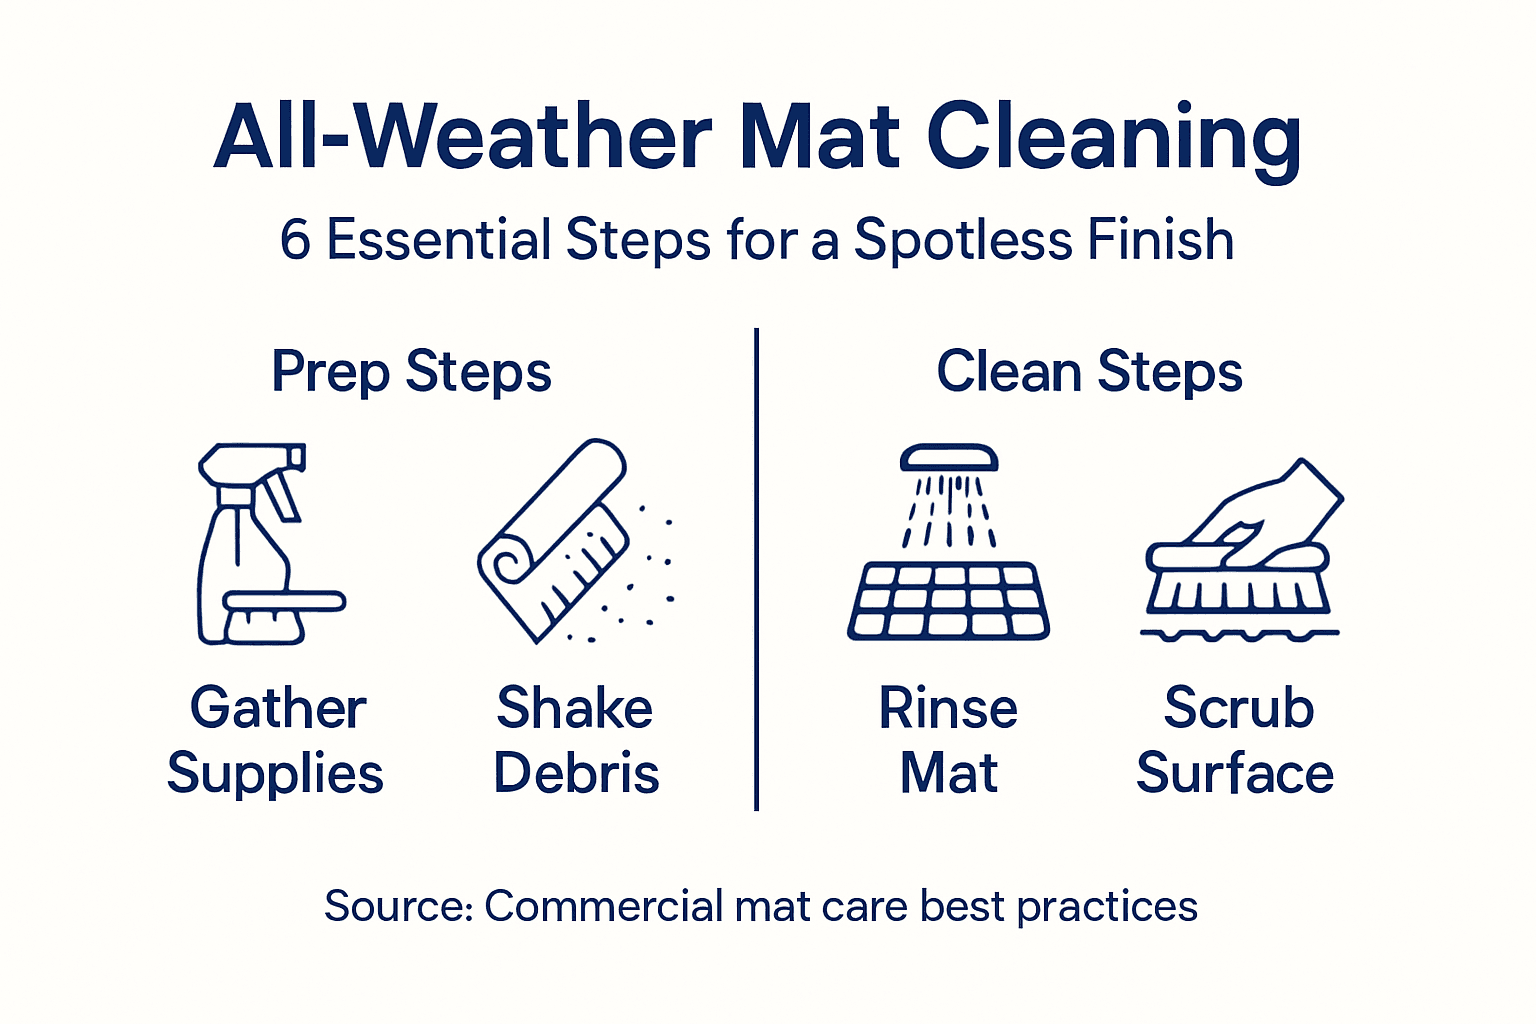
- Step 1: Gather Necessary Cleaning Supplies
- Step 2: Remove Mats And Shake Off Debris
- Step 3: Rinse Mats Thoroughly With Water
- Step 4: Scrub Mats With Appropriate Cleaner
- Step 5: Rinse And Dry Mats Completely
- Step 6: Inspect Mats For Cleanliness And Reinstall
Quick Summary
| Key Point | Explanation |
|---|---|
| 1. Gather essential cleaning supplies | Use soft microfiber cloths, mild detergents, and a soft bristle brush to avoid damaging mats during cleaning. |
| 2. Remove mats and shake out debris | Take mats outdoors to shake off dirt and prevent further embedding into fibers, ensuring a cleaner surface for the next cleaning steps. |
| 3. Rinse mats thoroughly with water | Wet both sides of the mats with a hose or bucket to remove loose dirt and prepare for deep cleaning without leaving residue. |
| 4. Scrub mats with the right cleaner | Use a mild, appropriate cleaner to scrub embedded dirt while maintaining the integrity of the mat material and enhancing its appearance. |
| 5. Inspect and reinstall dry mats | Before putting mats back, inspect them for cleanliness and ensure they are completely dry to prevent mildew or odors returning. |
Step 1: Gather necessary cleaning supplies
Preparing the right cleaning supplies is crucial for effectively maintaining your all-weather mats. The goal is to collect tools and solutions that will remove dirt and grime without damaging the mat’s protective surfaces.
Start by assembling professional-grade cleaning materials specifically designed for durable floor mats. Carefully selected cleaning products will ensure thorough dirt removal while preserving your mat’s integrity. Your essential cleaning kit should include:
- Soft microfiber cloths or cleaning mitts
- Mild detergent formulated for commercial floor mats
- Large soft sponge
- Bucket for mixing cleaning solution
- Soft bristle brush
- Clean water source
- Protective gloves
Avoid harsh household cleaners that might strip protective coatings or damage mat materials. Commercial facilities require specialized cleaning approaches that balance effectiveness with material preservation. Choose pH neutral cleaners that are gentle yet powerful enough to remove stubborn dirt and debris.
Pro Tip: Always test your cleaning solution on a small, inconspicuous mat area first to ensure it does not cause discoloration or damage.
Step 2: Remove mats and shake off debris
The next critical step in cleaning all-weather mats involves carefully removing them and preparing for a thorough cleaning. Proper mat removal techniques are essential for preventing dirt from further embedding into the mat fibers.
Begin by completely lifting the mat from its location. For floor mats, gently pull them up and away from their original surface. Take the mat to an open outdoor area where you can shake out accumulated debris without creating a mess inside. Hold the mat firmly at opposite corners and shake vigorously. This motion helps dislodge loose dirt, sand, and small particulates that have collected in the mat’s texture.
If the mat is particularly heavy or large, you might need a second person to help. Shake the mat from different angles to ensure you remove dirt from all sides and depths of the mat fibers. For commercial mats with significant debris, you may want to use a soft bristle brush to help loosen stubborn particles before shaking.
Pro Tip: Always shake mats away from vehicles, buildings, or clean surfaces to prevent re-depositing the dirt you just removed.
Step 3: Rinse mats thoroughly with water
Rinsing your all-weather mats is a crucial step that removes remaining debris and prepares the surface for deeper cleaning. Comprehensive mat rinsing techniques ensure that loose dirt and initial contaminants are completely eliminated before applying any cleaning solutions.
Select an outdoor area with good drainage for rinsing. Use a garden hose with a moderate spray setting to thoroughly wet the entire mat surface. Move the hose in sweeping motions to cover all areas evenly. If a hose is not available, use clean water in a large bucket. Ensure the water runs clear as you rinse, indicating that loose dirt has been successfully removed. For commercial mats with heavy soiling, you might need to repeat the rinsing process several times to completely clean the surface.
Pay special attention to mat edges and textured areas where dirt can accumulate. Rotate the mat during rinsing to guarantee complete coverage. Allow the mat to drain excess water naturally before proceeding to the next cleaning step.
Pro Tip: Rinse mats on a slight incline to help water drain more efficiently and prevent pooling.
Step 4: Scrub mats with appropriate cleaner
Scrubbing your all-weather mats requires careful technique and the right cleaning solution to remove embedded dirt and maintain material integrity. Environmentally safe cleaning techniques help ensure thorough cleaning without compromising the mat’s surface.
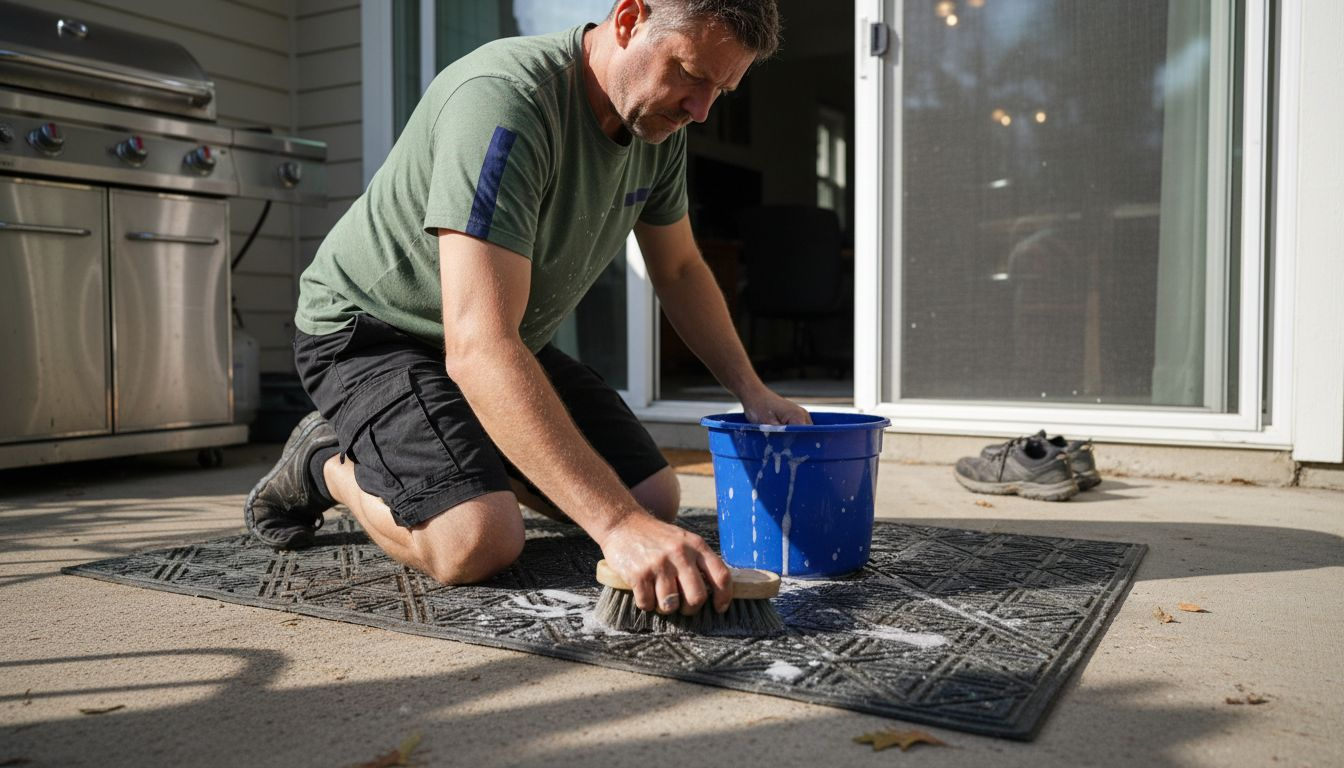
Choose a cleaner specifically formulated for your mat material. For commercial rubber or synthetic mats, use a mild detergent or specialized floor mat cleaner. Dilute the cleaning solution according to manufacturer instructions and apply it evenly across the mat surface. Use a soft bristle brush or microfiber cloth to gently scrub in circular motions. Focus on high traffic areas and visible stains, working the cleaner into the mat’s textured surfaces without applying excessive pressure.
Start scrubbing from one end of the mat and systematically work your way across the entire surface. Pay extra attention to corners and edges where dirt tends to accumulate. Rinse your brush or cloth frequently to prevent redistributing dirt. For particularly stubborn stains, allow the cleaning solution to sit for a few minutes before scrubbing to help break down grime more effectively.
Pro Tip: Test your cleaning solution on a small inconspicuous area first to ensure it does not discolor or damage the mat material.
Step 5: Rinse and dry mats completely
The final cleaning stage involves thoroughly rinsing away all cleaning solution and ensuring complete drying to prevent potential material damage or bacterial growth. Comprehensive mat drying techniques are essential for maintaining mat quality and preventing unpleasant odors.
Use clean water to rinse the mat thoroughly, ensuring all cleaning solution is completely removed. Hold the mat at different angles to allow water to drain fully. For faster drying, use clean microfiber towels to blot and absorb excess moisture. If weather permits, spread the mat in a sunny outdoor area with good air circulation. Direct sunlight helps accelerate the drying process and provides natural disinfection. For commercial mats in indoor settings, position fans to create airflow around the mat or use a wet vacuum to remove remaining moisture.
Check the mat from multiple angles to confirm no damp areas remain. Pay special attention to textured surfaces and edges where water can collect. Allow the mat to dry completely before reinstalling to prevent moisture buildup that could lead to mold or mildew growth in your facility.
Pro Tip: Place a clean dry towel underneath the mat during drying to absorb residual moisture and speed up the process.
Step 6: Inspect mats for cleanliness and reinstall
The final stage of mat cleaning requires a meticulous inspection to ensure optimal cleanliness and proper reinstallation. Safety focused mat reinstallation helps maintain workplace safety and mat performance.
Begin by carefully examining the entire mat surface under good lighting. Look for any remaining dirt spots, soap residue, or areas that might need additional cleaning. Check the mat edges and corners thoroughly. Ensure the mat is completely dry with no damp areas that could promote bacterial growth or cause musty odors. Verify that the mat has maintained its original shape and texture during the cleaning process.
When reinstalling, position the mat precisely in its original location. For commercial settings, ensure the mat lies flat without any wrinkles or curled edges that could create tripping hazards. Press down firmly along all edges to guarantee a secure fit. If the mat has a specific orientation or pattern, align it correctly to maintain its intended protective function. For vehicles or high traffic areas, double check that the mat does not interfere with pedals or walking paths.
Pro Tip: Photograph the original mat placement before cleaning to help you reinstall it exactly as it was positioned.
Compare typical mat cleaning mistakes with best practices:
| Common Mistake | Potential Issue | Best Practice |
|---|---|---|
| Using harsh chemicals | Damages mat surface | Use mild or pH-neutral cleaner |
| Insufficient rinsing | Residue attracts dirt | Rinse until water runs clear |
| Reinstalling damp mats | Can cause mildew | Ensure complete drying before use |
Here’s a summary of each cleaning step and its benefit:
| Step | Key Action | Main Benefit |
|---|---|---|
| Gather supplies | Use correct materials | Prevents damage to mats |
| Remove/shake mats | Dislodge loose debris outdoors | Stops indoor mess and deeper soiling |
| Rinse thoroughly | Wash away surface dirt | Prepares mats for deep cleaning |
| Scrub with cleaner | Target embedded grime | Maintains mat appearance and longevity |
| Rinse & dry | Remove all cleaner, dry fully | Avoids mold and odor issues |
| Inspect/reinstall | Check cleanliness, place mats safely | Ensures safe and effective use |
Keep Your All-Weather Mats Spotless with Reliable Commercial Solutions
Cleaning all-weather mats effectively requires the right approach to protect their durability while removing dirt and grime. If you struggle with maintaining pristine mats despite careful cleaning steps like rinsing thoroughly and gentle scrubbing, it’s time to consider upgrading your mat solutions. Our specially designed mats at Commercial Mats – Mats4U USA not only withstand heavy cleaning routines but also deliver long-lasting performance in high-traffic environments.
Experience the difference of mats made in the USA with materials optimized for easy maintenance and resistance to wear. Take advantage of our competitive pricing and free delivery on orders over $100 at Mats4U.com. Find the perfect mat to simplify your cleaning process and keep your workspace safe and professional. Explore our full selection of durable mats and accessories that enhance your facility’s cleanliness Accessories – Mats4U USA.
Don’t wait until dirt buildup becomes a costly problem. Upgrade today and enjoy mats that make cleaning less of a challenge. Visit Mats4U.com now to shop for quality commercial mats that support your maintenance goals.
Frequently Asked Questions
How do I gather the right cleaning supplies for all weather mats?
To effectively clean all weather mats, start by collecting professional-grade cleaning materials. Assemble soft microfiber cloths, mild detergent, a soft sponge, a bucket, a soft bristle brush, and protective gloves.
What is the best way to remove dust and debris from all weather mats?
Carefully lift the mats and take them outdoors to shake out loose dirt. Hold the mat at opposite corners and shake vigorously from various angles to dislodge any dirt or sand without causing a mess indoors.
How should I rinse all weather mats after shaking out debris?
Use a garden hose with a moderate spray setting to thoroughly wet the entire surface of the mats. Move the hose in sweeping motions until the water runs clear, ensuring any residual dirt is removed prior to applying cleaner.
What method should I use to scrub my all weather mats?
Apply a mild detergent or specialized mat cleaner evenly across the mat surface, then use a soft bristle brush to scrub in circular motions. Focus on high-traffic areas and ensure you rinse your brush frequently to avoid redistributing dirt.
How do I ensure my all weather mats are completely dry before reinstalling?
Rinse the mats thoroughly to remove all cleaning solution, then use clean microfiber towels to blot up excess moisture. If possible, spread the mats outdoors in sunlight to speed up the drying process and prevent any musty odors.
What should I check for during my final inspection of the cleaned mats?
Examine the mats under good lighting for any remaining dirt, soap residue, or damp spots before reinstalling. Ensure the mats are returned to their original position without wrinkles or curled edges to maintain safety.
Recommended
- How to Use All Weather Floor Mat Cleaner for Businesses – Mats4U USA
- Commercial Mat Cleaning Guide for Business Floors – Mats4U USA
- Commercial Floor Mat Cleaning Service: Step-by-Step Guide – Mats4U USA
- Cleaning Rubber Floor Mats: Achieve Spotless Results Easily – Mats4U USA
- Cleaning Materials Melbourne | Onyx Removals


