


Slips and falls account for over forty percent of all workplace injuries in American hospitality kitchens, putting staff at risk and increasing liability. Managing busy environments means facility managers must constantly monitor safety in high-traffic zones near stoves, sinks, and prep areas. This guide walks you through practical steps for selecting and installing durable anti-slip kitchen mats that meet real operational challenges, helping you design a safer workspace for every employee.
Table of Contents
- Step 1: Assess Kitchen Traffic and Hazard Zones
- Step 2: Choose the Right Kitchen Slip Mat Material
- Step 3: Prepare the Installation Area for Optimal Grip
- Step 4: Install the Kitchen Slip Mat Securely
- Step 5: Test Slip Resistance and Safety Effectiveness
- Step 6: Maintain and Inspect the Kitchen Slip Mat Regularly
Quick Summary
| Key Point | Explanation |
|---|---|
| 1. Assess Kitchen Traffic Areas | Identify high foot traffic zones to understand where slip hazards are likely to occur in the kitchen environment. |
| 2. Choose Suitable Mat Material | Select slip mat materials with high traction and durability to effectively reduce slip and fall risks under kitchen conditions. |
| 3. Properly Prepare Installation Area | Ensure surface is clean and even before mat installation to enhance grip and prevent slips. |
| 4. Securely Install Slip Mats | Use appropriate techniques and adhesives to ensure mats lay flat and stable, minimizing movement during use. |
| 5. Regularly Inspect and Maintain Mats | Conduct inspections and cleaning regularly to preserve mat performance and safety, replacing mats as needed. |
Step 1: Assess Kitchen Traffic and Hazard Zones
Identifying potential slip and fall risks in your kitchen requires a systematic and thorough evaluation of your workspace’s unique characteristics. By understanding traffic patterns and hazard zones, you can strategically place slip mats to maximize safety and prevent workplace accidents.
Start by carefully mapping high traffic zones where employees frequently move, such as areas near cooking stations, dishwashing areas, and food preparation surfaces. These locations typically experience the highest volume of foot traffic and are most prone to liquid spills, grease accumulation, and potential slip hazards. Pay close attention to spots where workers pivot, turn quickly, or carry heavy items like trays or cooking equipment. Look for subtle elevation changes, uneven surfaces, or areas where floor materials transition, as these can create unexpected tripping risks.
Critical zones to assess include entrances, walkways between stations, areas around sinks and stoves, and spaces near refrigeration units where condensation might accumulate. Use a comprehensive safety checklist to document potential hazards, noting surface conditions, lighting levels, and any obstacles that could impede safe movement. Photograph these areas to create a visual record and help identify precise locations where anti slip mats would provide the most protection.
Pro tip: Conduct your assessment during peak kitchen hours to observe actual movement patterns and get the most accurate representation of potential safety challenges.
Step 2: Choose the Right Kitchen Slip Mat Material
Selecting the appropriate slip mat material is crucial for creating a safe and functional kitchen environment that protects your staff from potential accidents. Your choice will directly impact the mat’s performance, durability, and effectiveness in preventing workplace injuries.
Testing floor slip resistance properties reveals critical insights into material selection for kitchen environments. Prioritize materials with high dynamic coefficient of friction that maintain grip under challenging conditions like wet surfaces, grease spills, and frequent foot traffic. Rubber and nitrile compounds typically offer superior traction, with specialized textured surfaces that channel liquids away and provide maximum grip. Commercial grade vinyl and specialized synthetic materials with raised patterns can also deliver excellent slip resistance while being easier to clean and more resistant to chemical exposure.
Pay careful attention to material characteristics recommended by safety experts, which emphasize selecting mats that can withstand harsh kitchen conditions. Look for materials that are chemical resistant, temperature tolerant, and capable of maintaining their structural integrity under constant moisture and temperature fluctuations. Consider thickness, drainage capabilities, and edge design to ensure comprehensive safety coverage across different kitchen zones.
Pro tip: Request material samples and conduct your own slip resistance tests under realistic kitchen conditions before making a final purchasing decision.
Here’s a comparison of common kitchen slip mat materials and their key characteristics:
| Material Type | Slip Resistance | Durability | Cleaning Ease |
|---|---|---|---|
| Rubber | Excellent | Long-lasting | Moderate effort |
| Nitrile | Superior | Highly durable | Easy to clean |
| Vinyl | Good | Moderate | Very easy |
| Synthetic Blends | Very good | Chemical resistant | Simple process |
Step 3: Prepare the Installation Area for Optimal Grip
Successful kitchen slip mat installation begins with meticulous area preparation to ensure maximum safety and long term performance. A properly prepared surface is the foundation for preventing potential slip hazards and maintaining mat stability.
Rigorous floor preparation guidelines emphasize creating a clean and smooth surface before mat placement. Start by thoroughly cleaning the floor area using industrial strength degreasers and cleaning solutions specifically designed for commercial kitchen environments. Remove all traces of grease, food particles, moisture, and accumulated debris that could compromise mat adhesion or create uneven surfaces. Use industrial scrub brushes or pressure washers to deep clean the floor, paying special attention to areas with visible stains or accumulated grime.
Inspect the floor surface carefully for any structural irregularities such as cracks, uneven tiles, or slight elevation changes that might prevent proper mat installation. Repair minor surface imperfections using appropriate floor leveling compounds and ensure the entire area is completely dry before proceeding with mat placement. Check the floor temperature and humidity levels, as extreme conditions can affect mat adhesion and long term performance. Measure and mark precise placement zones to guarantee accurate positioning and minimize potential movement during daily kitchen operations.
Pro tip: Perform a moisture test on the floor surface and allow at least 24 hours of drying time after cleaning to ensure optimal mat grip and installation success.
Step 4: Install the Kitchen Slip Mat Securely
Securing your kitchen slip mat requires precision and attention to detail to ensure maximum safety and long term performance. Your installation approach will directly impact the mat’s effectiveness in preventing workplace accidents and maintaining a stable walking surface.
Proper mat installation techniques demand careful positioning and securing methods to prevent shifting during busy kitchen operations. Begin by carefully aligning the mat with your previously marked placement zones, ensuring the mat lies completely flat without any wrinkles, folds, or raised edges that could create tripping hazards. Use specialized commercial grade adhesives or anti slip backing systems designed specifically for kitchen environments to anchor the mat securely. Press the mat firmly into place using consistent pressure across the entire surface to eliminate air pockets and create maximum contact with the floor.
Pay close attention to the mat edges and corners, as these are the most vulnerable areas for potential lifting or movement. For additional security, consider using mechanical fasteners or industrial strength double sided tape in high traffic zones. Verify that the mat remains level with the surrounding floor surface and has no visible gaps or uneven sections that could compromise safety. Conduct a visual and physical inspection by walking across the mat from multiple angles to confirm stability and proper placement.
Pro tip: Invest in professional installation tools like a floor roller to ensure complete adhesion and eliminate any potential air bubbles or uneven surfaces during mat placement.
Step 5: Test Slip Resistance and Safety Effectiveness
Validating the safety performance of your kitchen slip mat is a critical final step to ensure comprehensive workplace protection. Your rigorous testing approach will confirm the mat meets essential safety standards and provides reliable traction in challenging kitchen environments.
Slip resistance testing methodologies provide systematic approaches to evaluating mat performance under various conditions. Utilize professional tribometers to measure the dynamic coefficient of friction (DCOF) across different surface scenarios including dry, wet, and greasy conditions. Simulate real world kitchen environments by introducing common contaminants like water, cooking oils, and cleaning solutions to assess the mat’s grip characteristics. Perform multiple test passes using standardized testing protocols that measure the friction coefficient between the mat surface and test shoes or measurement devices.
Consult with safety professionals who can conduct comprehensive slip resistance assessments and provide objective measurements of your installed mat. Regular safety inspections should include visual examinations of mat condition, checking for wear patterns, surface degradation, and any signs of reduced traction. Document your testing results carefully and establish a routine maintenance schedule that includes periodic safety evaluations to ensure continuous protection for kitchen staff.
Pro tip: Consider maintaining a detailed log of mat performance tests to track changes over time and demonstrate your commitment to workplace safety.
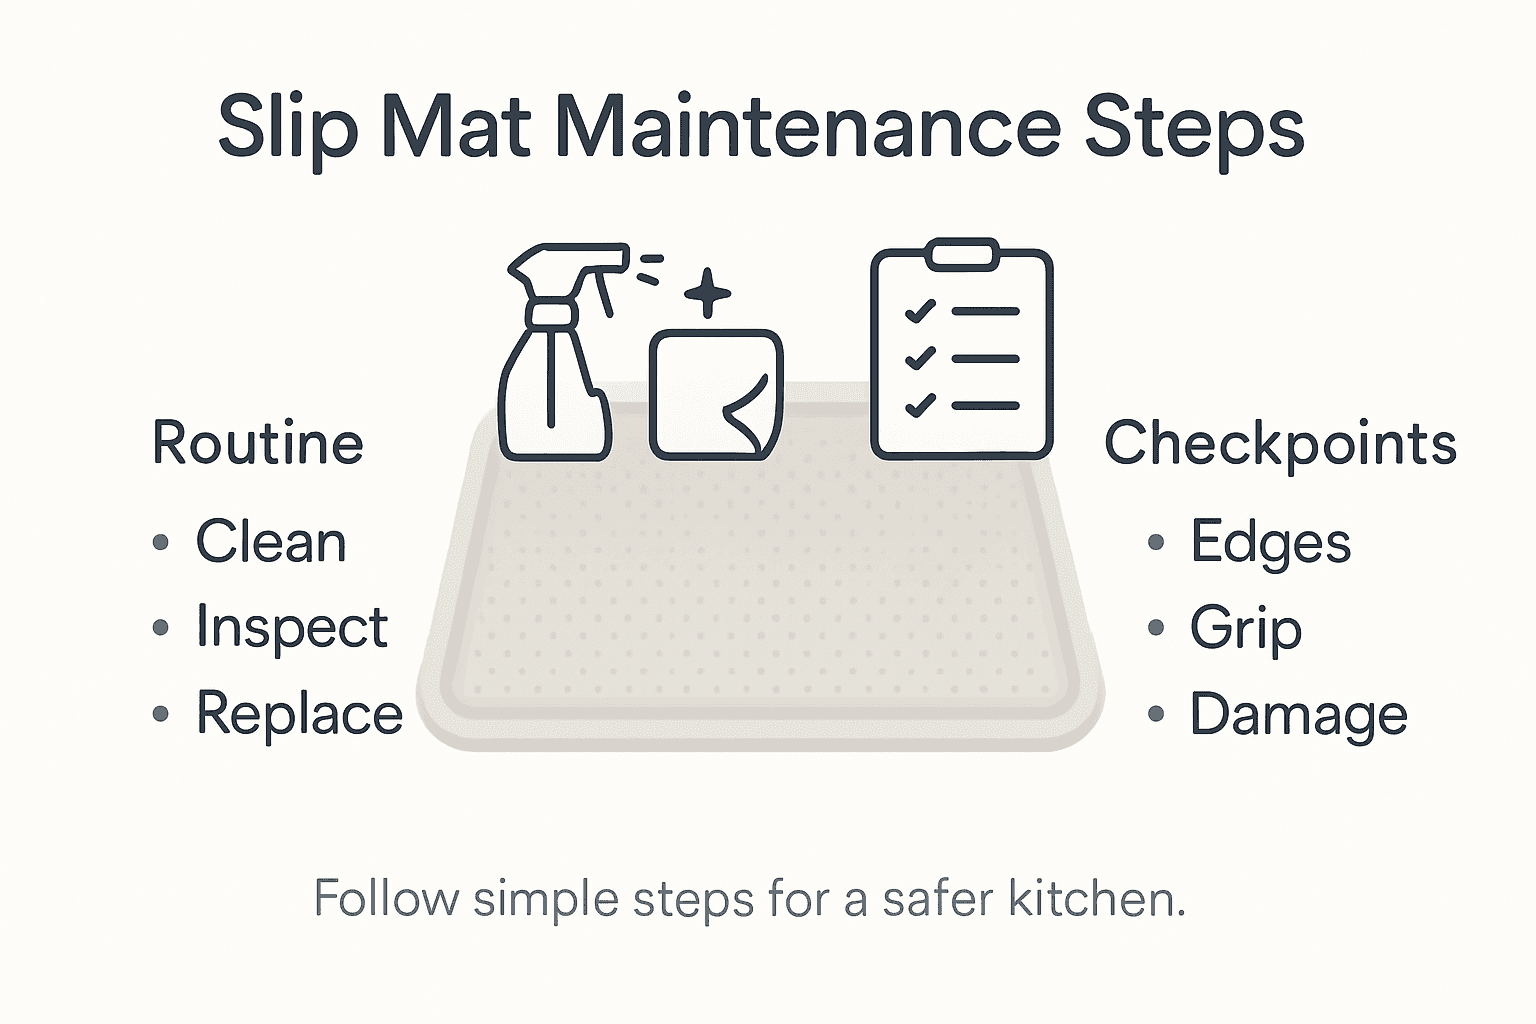
Step 6: Maintain and Inspect the Kitchen Slip Mat Regularly
Establishing a consistent maintenance routine is essential for preserving the safety and performance of your kitchen slip mat. Regular inspections will help you identify potential issues before they compromise workplace safety and extend the overall lifespan of your mat.

Comprehensive safety inspections require a systematic approach to evaluating mat condition and effectiveness. Develop a weekly inspection protocol that includes checking for visible signs of wear such as fraying edges, surface degradation, discoloration, or areas with reduced traction. Pay close attention to high traffic zones where mat material might break down more quickly. Look for subtle changes in mat texture, areas of compression, or spots where cleaning chemicals might have caused material breakdown.
Clean your mat thoroughly using industry recommended cleaning solutions that will not compromise its slip resistant properties. Remove accumulated debris, grease, and other contaminants that could reduce traction or create additional slip risks. Document each inspection with dated notes and photographs to track the mat’s condition over time. Replace mats immediately when they show significant wear or no longer meet safety performance standards, prioritizing staff protection over cost savings.
Pro tip: Create a standardized inspection checklist that includes specific measurements and visual indicators to ensure consistent and thorough evaluations of mat safety.
Use this summary table to guide your ongoing slip mat maintenance procedure:
| Maintenance Step | Frequency | What to Check |
|---|---|---|
| Visual Inspection | Weekly | Wear, edges, and discoloration |
| Cleaning | Daily | Remove debris and grease |
| Performance Testing | Monthly | Slip resistance and surface grip |
| Replacement | As needed | Fraying, cracks, or loss of traction |
Enhance Kitchen Safety with the Right Slip Mats from Mats4U
Preventing slips and falls in a busy kitchen starts with choosing the right slip mat that offers superior traction and durability. This article highlights crucial steps like assessing traffic zones and installing mats securely to protect your team. At Mats4U, we understand how vital it is to maintain a safe work environment using mats designed for commercial kitchens that withstand grease, moisture, and heavy foot traffic.
Explore our extensive range of Commercial Mats specifically engineered for high-traffic areas and demanding conditions. Our mats combine slip resistance, easy cleaning, and long-lasting materials helping you follow best practices for installation and maintenance, as outlined in the article. Don’t wait until accidents happen. Take action today by visiting Mats4U.com and find the perfect mat solution to safeguard your kitchen staff and improve workplace safety. Explore our Indoor Mats collection for more options tailored to your space’s specific needs.
Frequently Asked Questions
What are the steps to assess kitchen traffic and hazard zones?
To assess kitchen traffic and hazard zones, start by mapping high traffic areas like cooking stations and dishwashing areas. Observe these zones during peak hours to identify where slips may occur and document potential hazards using a comprehensive checklist.
How do I choose the right material for my kitchen slip mat?
Select slip mat materials that offer high slip resistance, such as rubber or nitrile, as they provide superior grip under wet conditions. Test material samples under realistic kitchen conditions to ensure they meet the demands of your workspace.
What preparation is needed before installing a kitchen slip mat?
Before installation, clean the floor thoroughly to remove grease and debris, and ensure the surface is smooth and dry. Repair any structural irregularities, allowing at least 24 hours for drying after cleaning to enhance mat adhesion.
How can I ensure my kitchen slip mat is installed securely?
Align the slip mat flat in the designated area, using commercial-grade adhesives or anti-slip backing to secure it. Apply consistent pressure across the mat to eliminate air pockets, and check for proper level placement to prevent tripping hazards.
What should I include in my routine maintenance for kitchen slip mats?
Establish a weekly inspection and cleaning protocol to check for wear and remove accumulated debris. Document your inspections and replace mats immediately if they show significant wear or reduced traction.
How can I test the slip resistance of my installed kitchen mat?
Use a professional slip resistance testing method to measure the dynamic coefficient of friction on the mat under various conditions. Perform tests regularly, especially after heavy cleaning or when you notice changes in performance, to ensure optimal safety.
Recommended
- Anti Slip Kitchen Floor Mats: Ensuring Safety in Hospitality – Mats4U USA
- Non Slip Mats for Kitchens: Safety and Compliance Benefits – Mats4U USA
- Anti Slip Kitchen Mats: Enhancing Safety and Efficiency – Mats4U USA
- Understanding Non Slip Restaurant Mats for Safety – Mats4U USA
- 7 Best Blinds for Kitchens: Style and Functionality
- Top Shutter Styles for Kitchens in the UK: 2025 Guide | Shutter World


