


Keeping high-traffic rubber mats spotless can feel like a constant challenge for facility managers at American hotels or commercial properties. With daily foot traffic bringing dirt, moisture, and germs, a reliable cleaning routine is essential for both appearance and safety. This guide breaks down practical steps for preparing your cleaning equipment, inspecting mats, and using the right solutions so you achieve consistently sanitized results without surface damage or lingering residue.
Table of Contents
- Step 1: Prepare the Rubber Mat Cleaning Machine
- Step 2: Inspect and Pre-Treat Rubber Mats
- Step 3: Operate the Cleaning Machine Effectively
- Step 4: Rinse and Dry Mats Thoroughly
- Step 5: Verify Mat Cleanliness and Machine Maintenance
Quick Summary
| Key Point | Explanation |
|---|---|
| 1. Prepare cleaning equipment and workspace | Thorough preparation of cleaning equipment enhances effectiveness, ensuring all tools and chemicals are suitable for the rubber mat being cleaned. |
| 2. Conduct a detailed inspection first | Inspect mats for dirt, mold, and damage to tailor your cleaning approach and avoid complicating the process later. |
| 3. Operate cleaning machine with precision | Adjust settings according to mat material to prevent damage and ensure thorough sanitization while maintaining consistent exposure. |
| 4. Rinse thoroughly to remove residue | Proper rinsing is crucial to eliminate any cleaning solution traces that could degrade the mat’s quality over time. |
| 5. Regularly maintain cleaning equipment | Regular inspections and maintenance of cleaning machines will improve their performance and prolong their lifespan, ensuring efficiency in future cleanings. |
Step 1: Prepare the Rubber Mat Cleaning Machine
Successfully cleaning a rubber mat requires strategic preparation of your cleaning equipment and workspace. This initial stage sets the foundation for achieving spotless, sanitized results.
To begin, gather all necessary cleaning supplies and inspect your rubber mat cleaning machine thoroughly. You’ll want to verify machine functionality and check that all components are clean and operational. This includes examining hoses, nozzles, and spray mechanisms for any blockages or wear.
Prepare your cleaning solution with careful attention to chemical compatibility. Proper solution preparation involves understanding both your rubber mat’s material and the recommended cleaning agents. Consider these key preparation steps:
- Check manufacturer’s guidelines for specific cleaning solutions
- Test chemical concentration and dilution ratios
- Ensure water temperature meets recommended specifications
- Inspect personal protective equipment (gloves, eye protection)
Chemical selection is crucial - the wrong solution can damage rubber surfaces or compromise cleaning effectiveness.
Pay special attention to your workspace setup. Clear the area around the mat, ensure proper drainage, and position your cleaning machine for optimal maneuverability. Good preparation minimizes potential disruptions during the cleaning process.
Pro tip: Always conduct a small spot test with your cleaning solution to verify it won’t cause discoloration or material damage before proceeding with full mat cleaning.
Here’s a summary of common rubber mat issues and how proper cleaning preparation addresses them:
| Mat Issue | Preparation Step That Prevents It | Positive Outcome |
|---|---|---|
| Discoloration | Correct chemical selection and spot test | Material color remains intact |
| Mold or mildew growth | Proper drying and workspace ventilation | No odor or biological hazards |
| Surface damage | Equipment inspection and pressure settings | Mat surface stays undamaged |
| Residue after cleaning | Accurate solution mixing and rinsing | Mat feels clean, residue-free |
Step 2: Inspect and Pre-Treat Rubber Mats
Before diving into the cleaning process, a thorough inspection of your rubber mats is crucial to ensure effective and safe sanitization. Understanding the current condition of your mats will help you determine the most appropriate cleaning strategy.
Begin by conducting a comprehensive visual assessment. Rubber mat inspection standards recommend examining the entire surface for signs of dirt, mold, chemical residues, or structural damage. Look for:
- Discoloration or staining
- Visible dirt or debris accumulation
- Surface cracks or material deterioration
- Evidence of mold or mildew growth
- Uneven wear patterns
A meticulous initial inspection prevents potential cleaning complications and protects your mat’s long-term integrity.
Once you’ve completed the visual assessment, focus on pre-treatment strategies. Remove loose debris using a soft-bristled brush or vacuum with a soft attachment. For heavily soiled areas, prepare targeted spot-cleaning techniques using cleaning solutions compatible with your specific rubber mat material.
Pro tip: Always test your cleaning solution on a small, inconspicuous area first to verify it won’t cause discoloration or damage to the rubber surface.
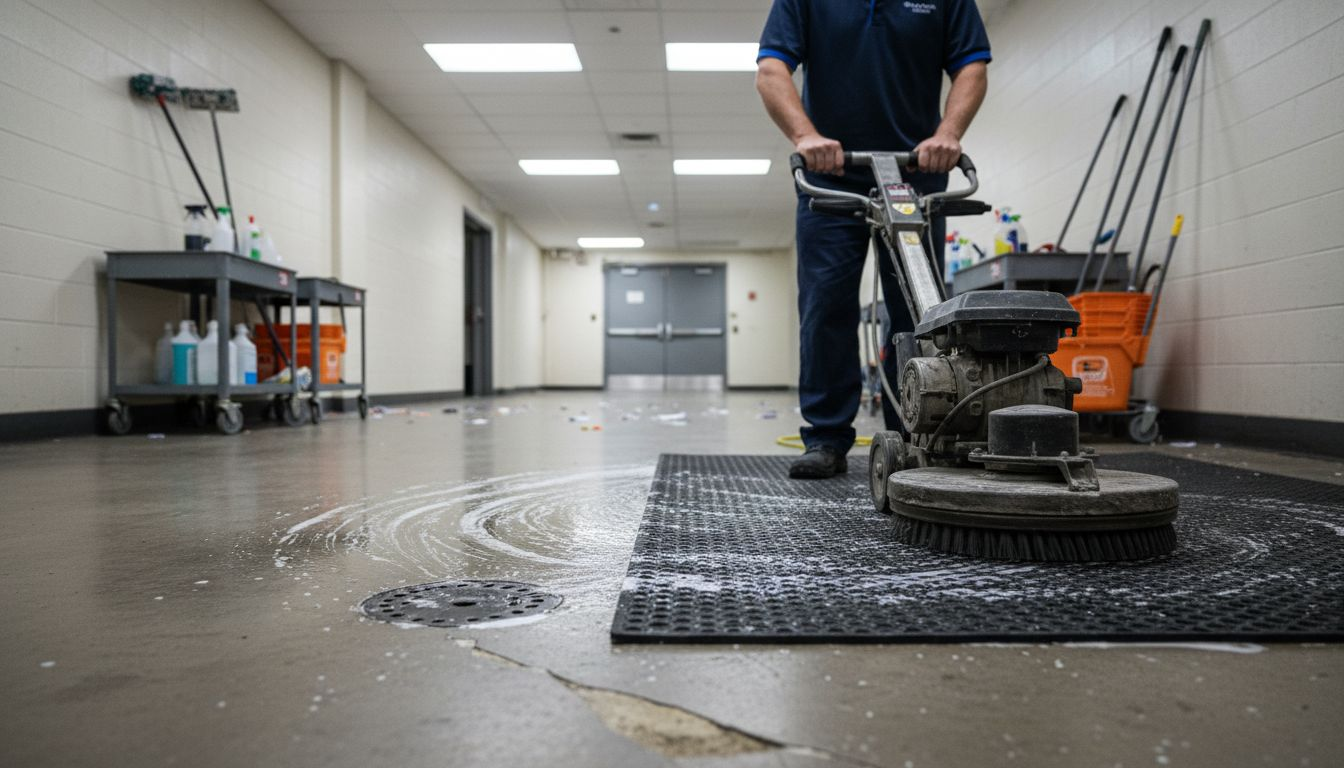
Step 3: Operate the Cleaning Machine Effectively
Successfully cleaning rubber mats requires precision and careful machine operation. Your goal is to achieve thorough sanitization without damaging the mat’s surface or compromising its structural integrity.
Systematic cleaning protocols emphasize the importance of following a consistent and methodical approach. Start by configuring your cleaning machine with the appropriate settings tailored to your rubber mat’s specific material and condition. Pay close attention to key operational parameters:
- Set water temperature according to manufacturer recommendations
- Adjust pressure settings to prevent surface damage
- Select appropriate cleaning solution concentration
- Maintain consistent movement speed across the mat surface
- Overlap cleaning passes to ensure complete coverage
Precision in machine operation directly impacts the effectiveness of your cleaning process and the longevity of your rubber mats.
Begin cleaning by moving the machine in steady, overlapping passes. Maintain consistent pressure and speed to ensure uniform cleaning. Work systematically from one end of the mat to the other, ensuring no areas are missed or over-treated.
Pro tip: Move the cleaning machine at a steady pace that allows the cleaning solution to break down dirt without saturating the rubber surface.
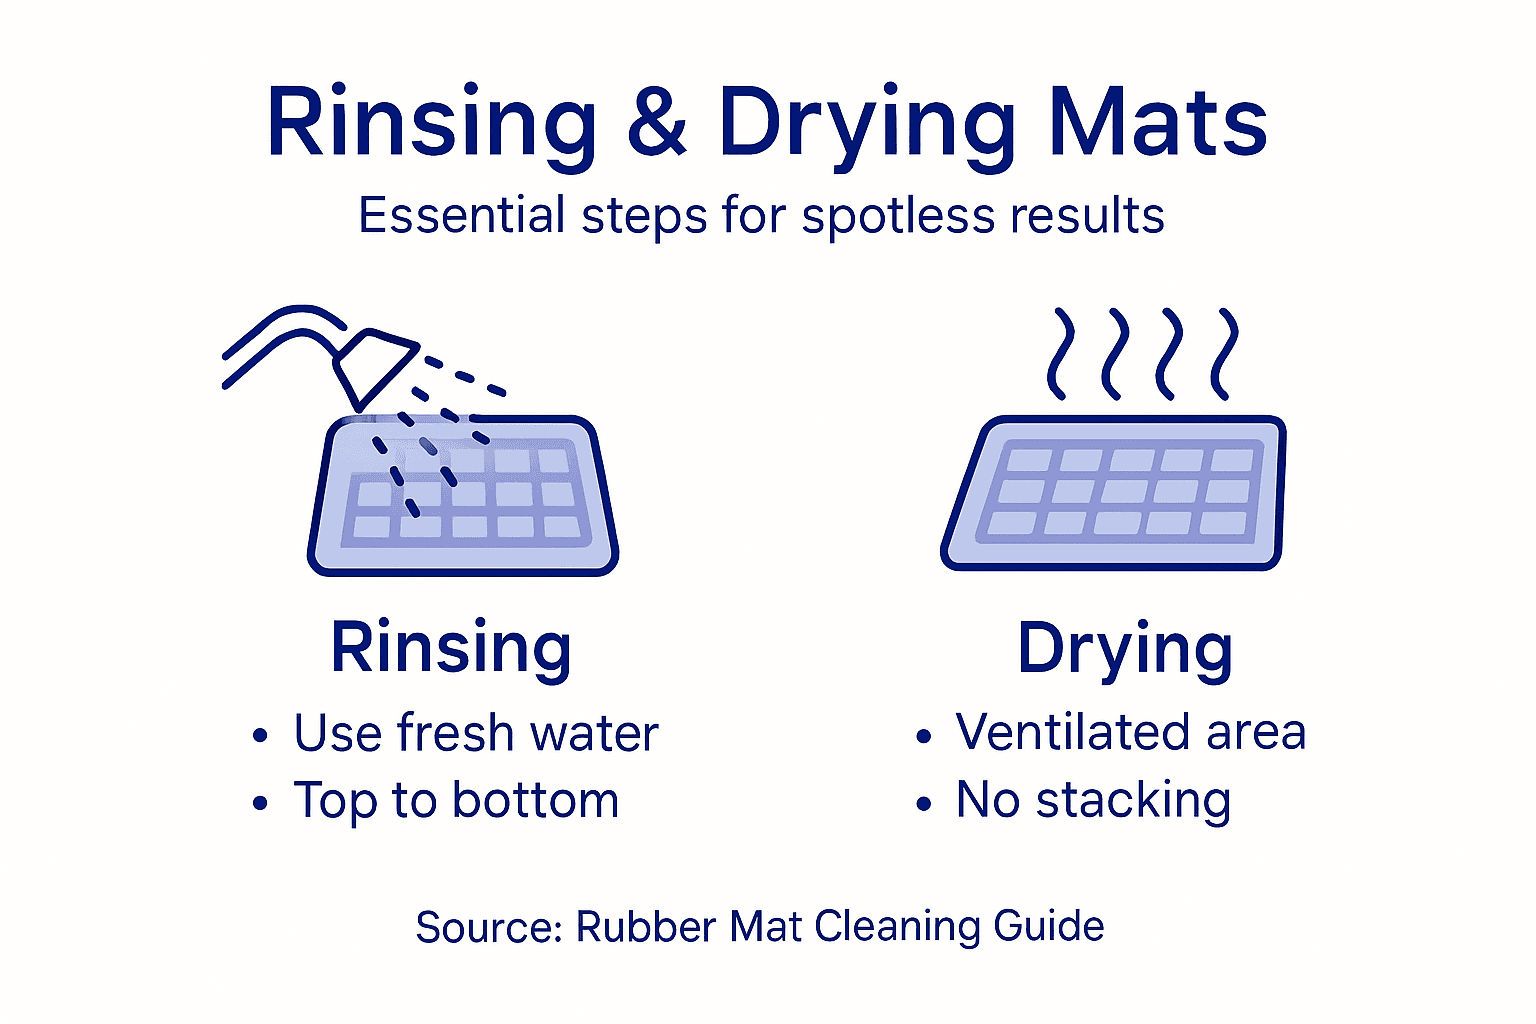
Step 4: Rinse and Dry Mats Thoroughly
The final stages of rubber mat cleaning are crucial for ensuring a spotless, hygienic result. Your goal is to remove all cleaning solution residue and prevent moisture-related damage through strategic rinsing and drying techniques.
Thorough rinsing protocols emphasize the importance of completely eliminating detergent and soil remnants. Begin by using clean, fresh water to rinse the mat surface systematically. Pay attention to these key rinsing strategies:
- Use fresh water at appropriate temperature
- Rinse from top to bottom to prevent recontamination
- Ensure complete removal of cleaning solution
- Check for any remaining dirt or soap residue
- Use clean, lint-free towels or squeegees for initial moisture removal
Proper rinsing prevents potential material degradation and ensures your mat remains in optimal condition.
Drying the mat completely is equally important. Position the mat in a well-ventilated area with good air circulation. If possible, stand the mat vertically to allow maximum water drainage and expedite the drying process.
Pro tip: Never store or stack rubber mats while they are still damp to prevent mildew growth and potential material breakdown.
Step 5: Verify Mat Cleanliness and Machine Maintenance
The final checkpoint in your rubber mat cleaning process involves meticulous verification of both the mat’s cleanliness and the cleaning machine’s operational condition. This critical step ensures consistent performance and long-term equipment reliability.
Visual inspection practices are essential for confirming thorough cleaning and identifying any potential issues. Carefully examine the entire mat surface under good lighting, paying attention to these key verification points:
- Check for complete removal of dirt and stains
- Verify no cleaning solution residue remains
- Inspect mat surface for any signs of damage
- Confirm uniform cleaning across entire surface
- Assess mat’s texture and color consistency
Thorough verification prevents future cleaning complications and maintains mat quality.
Machine maintenance is equally crucial. After cleaning, conduct a comprehensive inspection of your cleaning equipment. Look for signs of wear, check all hoses and connections, and clean the machine thoroughly to prepare it for future use.
Pro tip: Create a maintenance log to track cleaning machine performance and document each cleaning cycle for consistent quality control.
Use this maintenance checklist for ongoing mat and machine performance:
| Maintenance Task | Frequency | Resulting Benefit |
|---|---|---|
| Inspect machine hoses/connectors | After each use | Prevents leaks or breakdowns |
| Log each cleaning cycle | Every cleaning | Tracks mat and machine issues |
| Deep clean equipment | Weekly | Ensures hygienic operation |
| Check cleaning chemicals stock | Monthly | Avoids last-minute shortages |
Achieve Spotless Results with the Right Rubber Mat Solutions
Cleaning rubber mats thoroughly can be challenging without the proper equipment and materials. This guide highlights key pain points such as preventing surface damage, ensuring complete rinsing, and maintaining mat integrity through careful chemical selection and machine operation. If you want to avoid discoloration, residue, and premature wear, selecting high-quality mats designed for durability and easy maintenance is essential.
Explore our extensive range of Commercial Mats engineered for tough environments and easy cleaning. Complement your maintenance routine with precision products from our Accessories collection to unlock the full potential of your cleaning efforts. Get started today at Mats4U.com to find reliable, Made in the USA mats that stand up to rigorous cleaning while keeping your floors safe and looking pristine.
Don’t settle for mats that complicate your cleaning process. Upgrade now with trusted solutions designed for long-lasting performance and spotless results.
Frequently Asked Questions
How do I prepare my rubber mat cleaning machine for effective cleaning?
To prepare your rubber mat cleaning machine, inspect all components for proper functionality and cleanliness. Gather your cleaning supplies, ensure compatibility with your rubber mat, and check all settings before starting to ensure an efficient cleaning process.
What should I look for when inspecting rubber mats before cleaning?
When inspecting rubber mats, examine for discoloration, dirt accumulation, mold, and any physical damage such as cracks or wear patterns. Conducting a thorough visual assessment helps identify problem areas and determine the best cleaning strategy, saving time and improving results.
How can I effectively operate a rubber mat cleaning machine?
To operate a rubber mat cleaning machine effectively, set the appropriate water temperature and pressure based on your mat’s material. Move the machine in overlapping passes at a consistent speed to ensure thorough cleaning without damaging the mat’s surface.
What is the best way to rinse and dry rubber mats after cleaning?
The best way to rinse rubber mats is to use fresh water, rinsing from top to bottom to ensure complete removal of cleaning solution. Allow the mats to dry in a well-ventilated area, standing them vertically if possible, to prevent mildew growth and material breakdown.
How can I verify the cleanliness of rubber mats after cleaning?
To verify the cleanliness of rubber mats, perform a visual inspection under good lighting, checking for any remaining dirt, stains, or cleaning solution residue. Ensuring that mats are clean and free from damage promotes a healthy and safe environment.
What maintenance steps should I take for my rubber mat cleaning machine?
For maintenance, regularly inspect hoses and connectors after each use to prevent leaks and breakdowns. Keep a maintenance log to track cleaning cycles and perform a deep clean of the equipment weekly to ensure it operates effectively and hygienically.
Recommended
- A Practical Guide to Washing Floor Mats in a Washing Machine – Mats4U USA
- Cleaning Rubber Floor Mats: Achieve Spotless Results Easily – Mats4U USA
- Mastering Car Rubber Floor Mat Cleaner: A Step-by-Step Guide – Mats4U USA
- A Practical Guide to Cleaning Rubber Floor Surfaces – Mats4U USA
- Böschungsmäher-Dienste in St-Gallen & Zürich
- Fjernelse af tapet guide - Professionel Malerservice København | Malerfirmaetbka.dk


