


Slip-related injuries cost American businesses billions every year, making commercial kitchen safety a top concern for facility managers. In a busy hospitality kitchen, one small misstep can sideline staff and disrupt service. Choosing the right non skid mats for your high-traffic areas not only protects your team but also extends the life of your floor surfaces. This step-by-step guide explains how to address hazard zones and select the best mats for a safer, more efficient kitchen.
Table of Contents
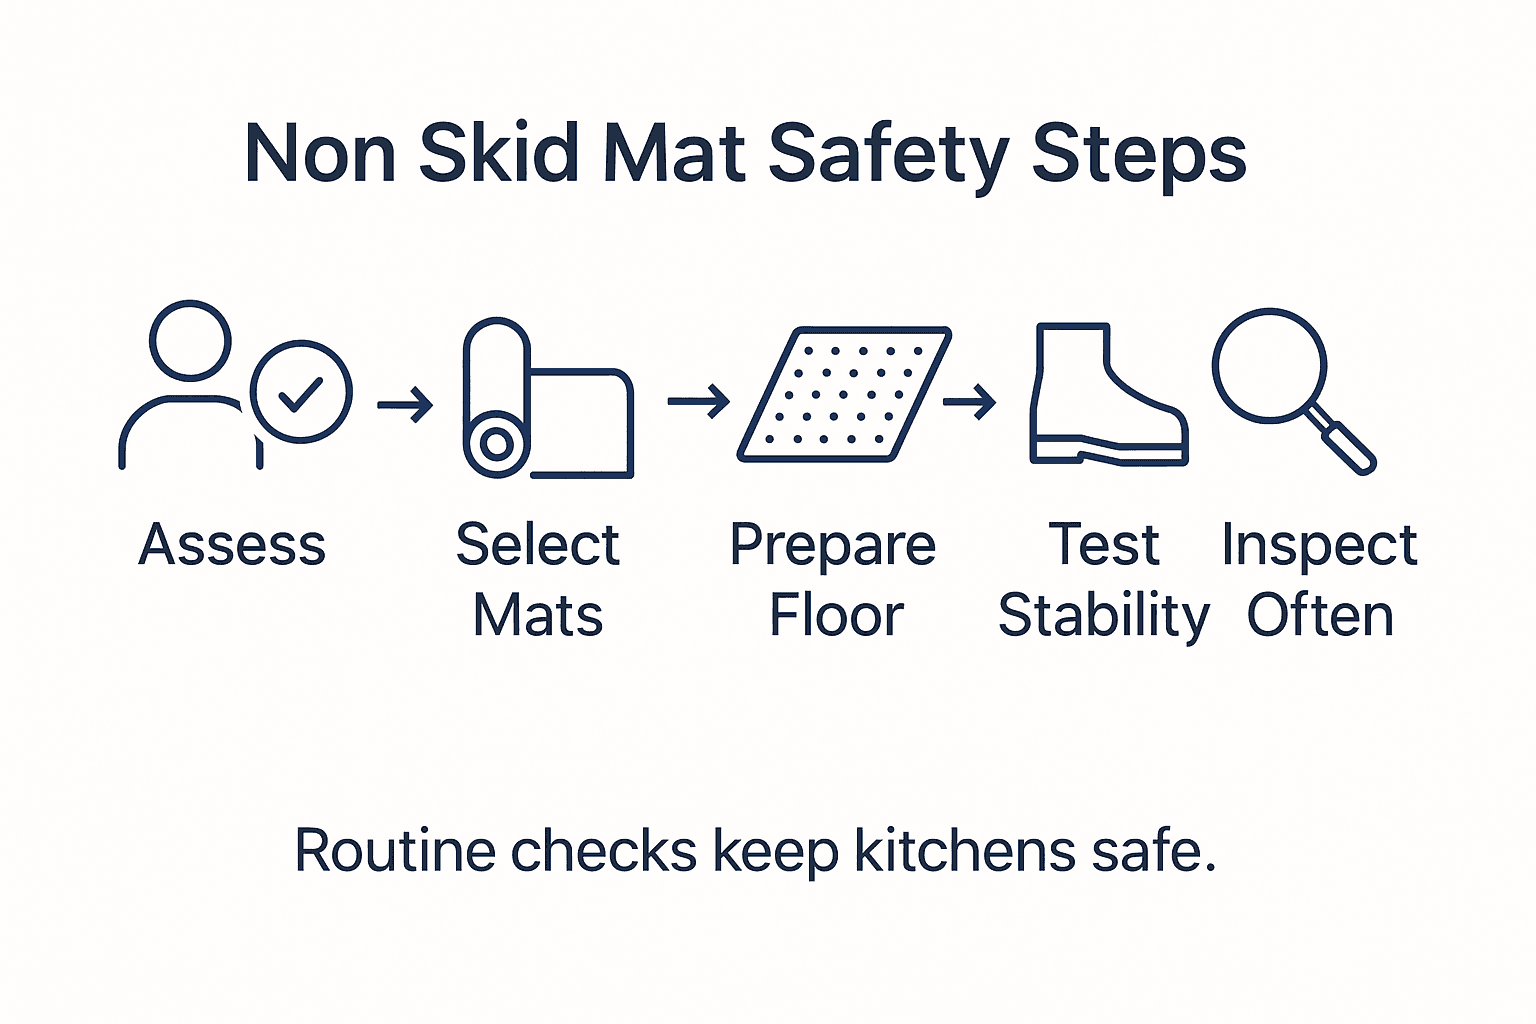
- Step 1: Assess Your Kitchen’s High-Risk Areas
- Step 2: Select Appropriate Kitchen Non Skid Mats
- Step 3: Prepare The Floor For Mat Placement
- Step 4: Install And Secure Non Skid Mats Properly
- Step 5: Test And Verify Mat Stability
Quick Summary
| Key Insight | Explanation |
|---|---|
| 1. Identify High-Risk Areas | Systematically assess kitchen zones for moisture, grease, and traffic to locate potential hazards. |
| 2. Select Appropriate Mats | Choose non skid mats based on friction, durability, and specific kitchen requirements for safety. |
| 3. Prepare Floor Thoroughly | Clean and inspect floors before mat installation to ensure proper adhesion and safety. |
| 4. Install Mats Correctly | Secure mats flat, avoiding wrinkles, and ensure they cover high-risk areas effectively. |
| 5. Conduct Regular Inspections | Implement a routine to test mat stability and wear, involving staff in safety checks. |
Step 1: Assess your kitchen’s high-risk areas
Before installing non skid mats, you need a systematic approach to identifying potential safety hazards in your kitchen workspace. Understanding kitchen hazard zones requires careful examination of surfaces, workflows, and potential contamination points that could lead to slips, trips, or foodborne risks.
Start by mapping out your kitchen’s critical areas. Focus on zones with high moisture levels, such as near sinks, dishwashing stations, and food preparation surfaces. Pay special attention to areas where liquids frequently accumulate like around refrigerators, ice machines, and cooking stations. Cross contamination risks often emerge in these transition spaces where employees move quickly between different work zones.
Look for specific risk indicators: uneven floor surfaces, places where grease or water might pool, and tight corners where turning with heavy loads could cause instability. Document each high-risk zone with notes about surface texture, typical liquid exposure, and employee traffic patterns. This detailed assessment will help you strategically place non skid mats for maximum safety impact.
Use this reference to evaluate your kitchen’s high-risk areas by risk factor and recommended actions:
| Risk Factor | Example Area | Recommended Action |
|---|---|---|
| Moisture accumulation | By dishwashing sinks | Place drainage mat, clean nightly |
| Grease or oil pooling | Near fryers | Use oil-resistant mat, degrease daily |
| Uneven floor surfaces | Walkway transitions | Repair floor, use beveled mats |
| High employee traffic | Food prep stations | Secure mat, schedule inspections |
Pro tip: Use a digital camera or smartphone to photograph potential hazard zones, creating a visual reference that helps you precisely plan your non skid mat placement strategy.
Step 2: Select appropriate kitchen non skid mats
Choosing the right non skid mats for your kitchen requires careful consideration of safety, durability, and specific workspace requirements. Floor mat safety guidelines emphasize the importance of selecting mats that provide optimal friction, stability, and injury prevention in high-risk work environments.
Focus on key selection criteria that match your kitchen’s unique challenges. Look for mats with high surface friction that can withstand wet and greasy conditions. Kitchen workplace safety standards recommend selecting mats with thickness and weight appropriate for heavy traffic areas. Consider materials that are chemical resistant, easy to clean, and designed to handle frequent washing and harsh kitchen environments.
Evaluate mat features like drainage capabilities, beveled edges to prevent tripping, and resistance to oils and cleaning chemicals. Different kitchen zones may require specialized mats for specific tasks such as anti fatigue mats near standing workstations or drainage mats in dishwashing areas. Prioritize mats that offer both slip resistance and comfort for employees who spend long hours standing and moving through the workspace.
Here’s a quick comparison of common kitchen mat types and their recommended uses:
| Mat Type | Best For | Key Features |
|---|---|---|
| Anti Fatigue Mat | Standing prep areas | Cushions joints, improves comfort |
| Drainage Mat | Dishwashing or sink stations | Allows liquids to flow through holes |
| Oil-Resistant Mat | Cooking and frying zones | Resists oils and grease buildup |
| Adhesive-Backed Mat | Walkways with heavy traffic | Stays firmly in place, reduces slips |
Pro tip: Request mat samples and conduct onsite testing to ensure the non skid mats perform effectively under your specific kitchen conditions before making a full investment.
Step 3: Prepare the floor for mat placement
Preparing your kitchen floor for non skid mat installation is a critical step that directly impacts safety and mat performance. Floor preparation guidelines emphasize the importance of creating a clean, dry, and debris-free surface to ensure optimal mat adhesion and effectiveness.
Begin by thoroughly cleaning the floor surface using appropriate cleaning agents that remove grease, dirt, and bacterial residue. Kitchen floor safety protocols recommend using degreasing solutions specifically designed for commercial kitchen environments. Pay close attention to areas near cooking stations, dishwashing zones, and high traffic corridors where oil and moisture accumulation is most prevalent. Allow the floor to dry completely after cleaning to prevent moisture from compromising mat adhesion.

Inspect the floor surface for any damage, uneven areas, or structural imperfections that could interfere with mat placement. Repair any cracks, chips, or irregularities to create a smooth, level foundation. This careful preparation will help ensure your non skid mats lie flat, minimize tripping hazards, and provide maximum slip resistance throughout your kitchen workspace.
Pro tip: Use a moisture meter to verify the floor is completely dry before mat installation, as even slight dampness can reduce mat effectiveness and longevity.
Step 4: Install and secure non skid mats properly
Successfully installing non skid mats requires precision and attention to detail to ensure maximum safety and performance in your kitchen workspace. Kitchen equipment safety protocols emphasize the critical importance of proper mat placement and securing techniques to prevent potential workplace accidents.
Carefully position each mat to cover high risk areas, ensuring they lie completely flat without any wrinkles or folds that could create tripping hazards. Non skid mat installation guidelines recommend using mats with beveled edges to reduce potential tripping risks. For areas with heavy traffic or significant moisture, consider using mats with adhesive backing or installing additional securing mechanisms to prevent unexpected movement during use. Pay special attention to transitions between different floor surfaces, making sure mats create smooth, seamless coverage that supports safe employee movement.
Periodically inspect your installed mats for signs of wear, curling edges, or reduced grip effectiveness. Replace mats that show significant deterioration to maintain optimal safety standards in your kitchen environment. Take time to train kitchen staff about proper mat usage and the importance of keeping mat areas clear of additional obstacles or debris that could compromise their effectiveness.
Pro tip: Create a quarterly inspection schedule to systematically check mat condition and replace them before they become potential safety risks.
Step 5: Test and verify mat stability
Validating the safety and performance of your newly installed non skid mats requires a comprehensive and systematic approach to testing. Mat stability assessment protocols emphasize the importance of thorough physical and visual inspections to ensure workplace safety.
Conduct a series of practical tests to evaluate mat performance under realistic kitchen conditions. Apply pressure across different areas of the mat to check for sliding or unexpected movement. Kitchen safety verification techniques recommend simulating typical workplace movements such as walking, pivoting, and carrying items to assess the mat’s grip and stability. Look for signs of edge curling, surface irregularities, or reduced friction that could compromise worker safety. Consider adding glow-in-the-dark safety strips to improve visibility during low-light conditions, which can provide an additional layer of workplace protection.
Establish a consistent inspection routine where kitchen staff actively participate in safety checks. Train employees to report any mat issues immediately, creating a collaborative approach to maintaining a safe working environment. This proactive strategy helps identify potential problems before they become significant safety risks, ensuring continuous protection for your kitchen workforce.
Pro tip: Develop a standardized mat inspection checklist that kitchen staff can easily follow, making safety verification a routine and systematic process.
Enhance Kitchen Safety with Premium Non Skid Mats from Mats4U
Creating a safe kitchen workspace means addressing hazards like moisture, grease, and high traffic zones with effective non skid mats designed for durability and comfort. If you are aiming to reduce slip and fall risks while improving employee comfort during long shifts, choosing the right mats is critical. The challenges of uneven floors, oil buildup, and wet surfaces demand mats that offer reliable grip, drainage features, and resistance to harsh kitchen conditions.
Discover a wide selection of specialized mats in our Commercial Mats category designed for high traffic and demanding environments. From oil-resistant mats perfect for cooking zones to anti fatigue options that help reduce worker strain, Mats4U provides solutions that meet your kitchen’s unique needs. Act now to protect your staff and maintain a safer kitchen with mats made in the USA and available with free delivery on orders over $100. Visit Mats4U.com today, explore our Indoor Mats, and select the safest, most reliable kitchen floor mats to keep your workspace secure and efficient.
Frequently Asked Questions
How do I assess high-risk areas in my kitchen for non skid mat installation?
Before installing non skid mats, assess your kitchen by identifying areas prone to moisture and slips, such as around sinks and dishwashing stations. Document details about each critical zone, including surface texture and employee traffic patterns. This will help you select the best mat placement for safety.
What features should I consider when selecting kitchen non skid mats?
Select non skid mats based on friction, durability, and specific kitchen tasks. Look for mats that resist moisture, grease, and chemicals, and ensure they have beveled edges to minimize tripping hazards. Prioritize comfort by choosing mats designed for heavy foot traffic or standing work areas.
How do I prepare my kitchen floor before installing non skid mats?
Ensure your kitchen floor is clean, dry, and free of debris before mat installation. Use degreasing agents to remove any residue, and allow the surface to fully dry to enhance mat adhesion. Repair any uneven areas to create a level foundation for safety.
What is the proper way to install and secure non skid mats in the kitchen?
Carefully place each mat to cover high-risk areas, ensuring they lie flat without wrinkles. Use mats with adhesive backing or additional securing methods in areas with heavy traffic or moisture to prevent movement. Regularly inspect for wear and report any issues to maintain safety.
How can I test the stability of my installed non skid mats?
Test the stability of your non skid mats by applying pressure and simulating typical kitchen movements. Look for any signs of sliding or edge curling, which can indicate reduced grip. Establish a routine for staff to check mats regularly to ensure continued safety and performance.
Recommended
- Non Slip Mats for Kitchens: Safety and Compliance Benefits – Mats4U USA
- How to Install and Maintain a Kitchen Slip Mat for Safety – Mats4U USA
- Anti Slip Kitchen Mats: Enhancing Safety and Efficiency – Mats4U USA
- Anti Slip Kitchen Floor Mats: Ensuring Safety in Hospitality – Mats4U USA
- KT Constructions—Expert Microcement Bathroom Flooring.


